
Bitget is one of those exchanges that bring you right into the action with fast trades and a clean, intuitive interface. As you gain experience, though, you might want more than just the basics. Perhaps you want to use advanced technical analysis indicators to track your favorite coins, analyze search trends, or tap into real-time social sentiment—all in one place. That’s where Jellydator comes in. By connecting your Bitget account to Jellydator, you gain access to a richer, more insightful way to trade.
In this guide, we’ll walk you through the steps needed to connect your Bitget account to Jellydator.
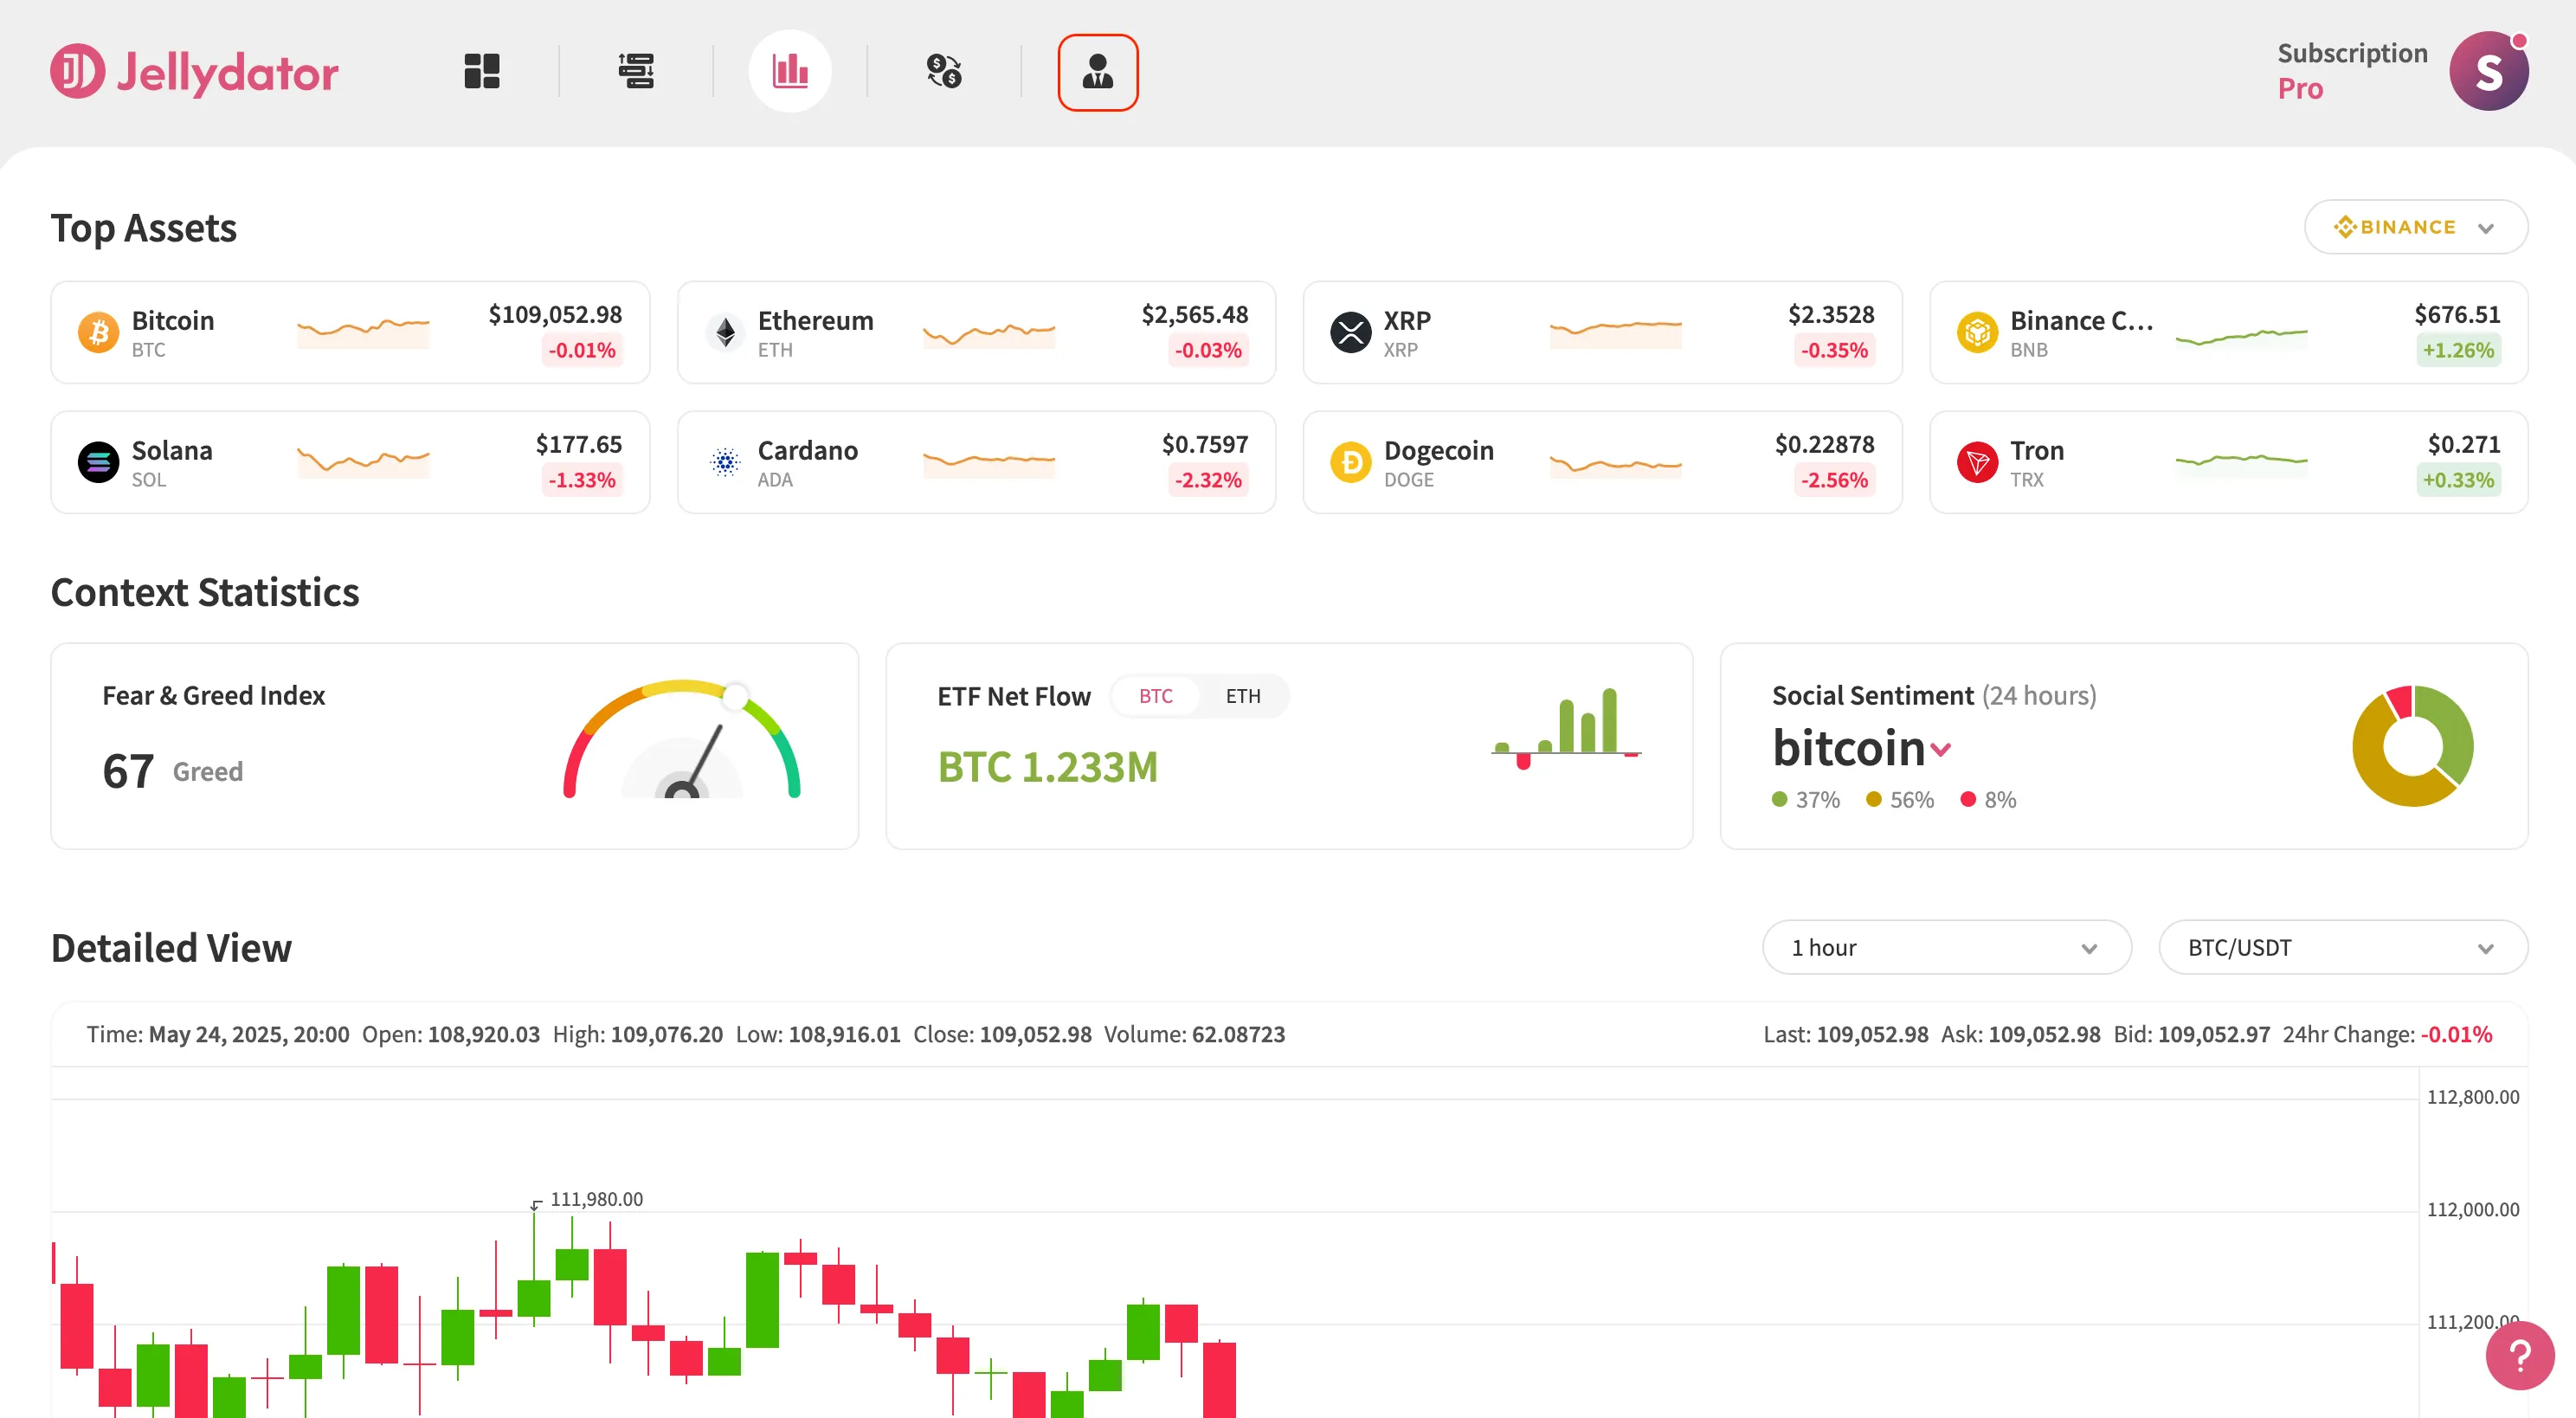
Step 1: Go to Your Jellydator Account Page
Start by opening your Jellydator account page. This is where you manage all your exchange connections.
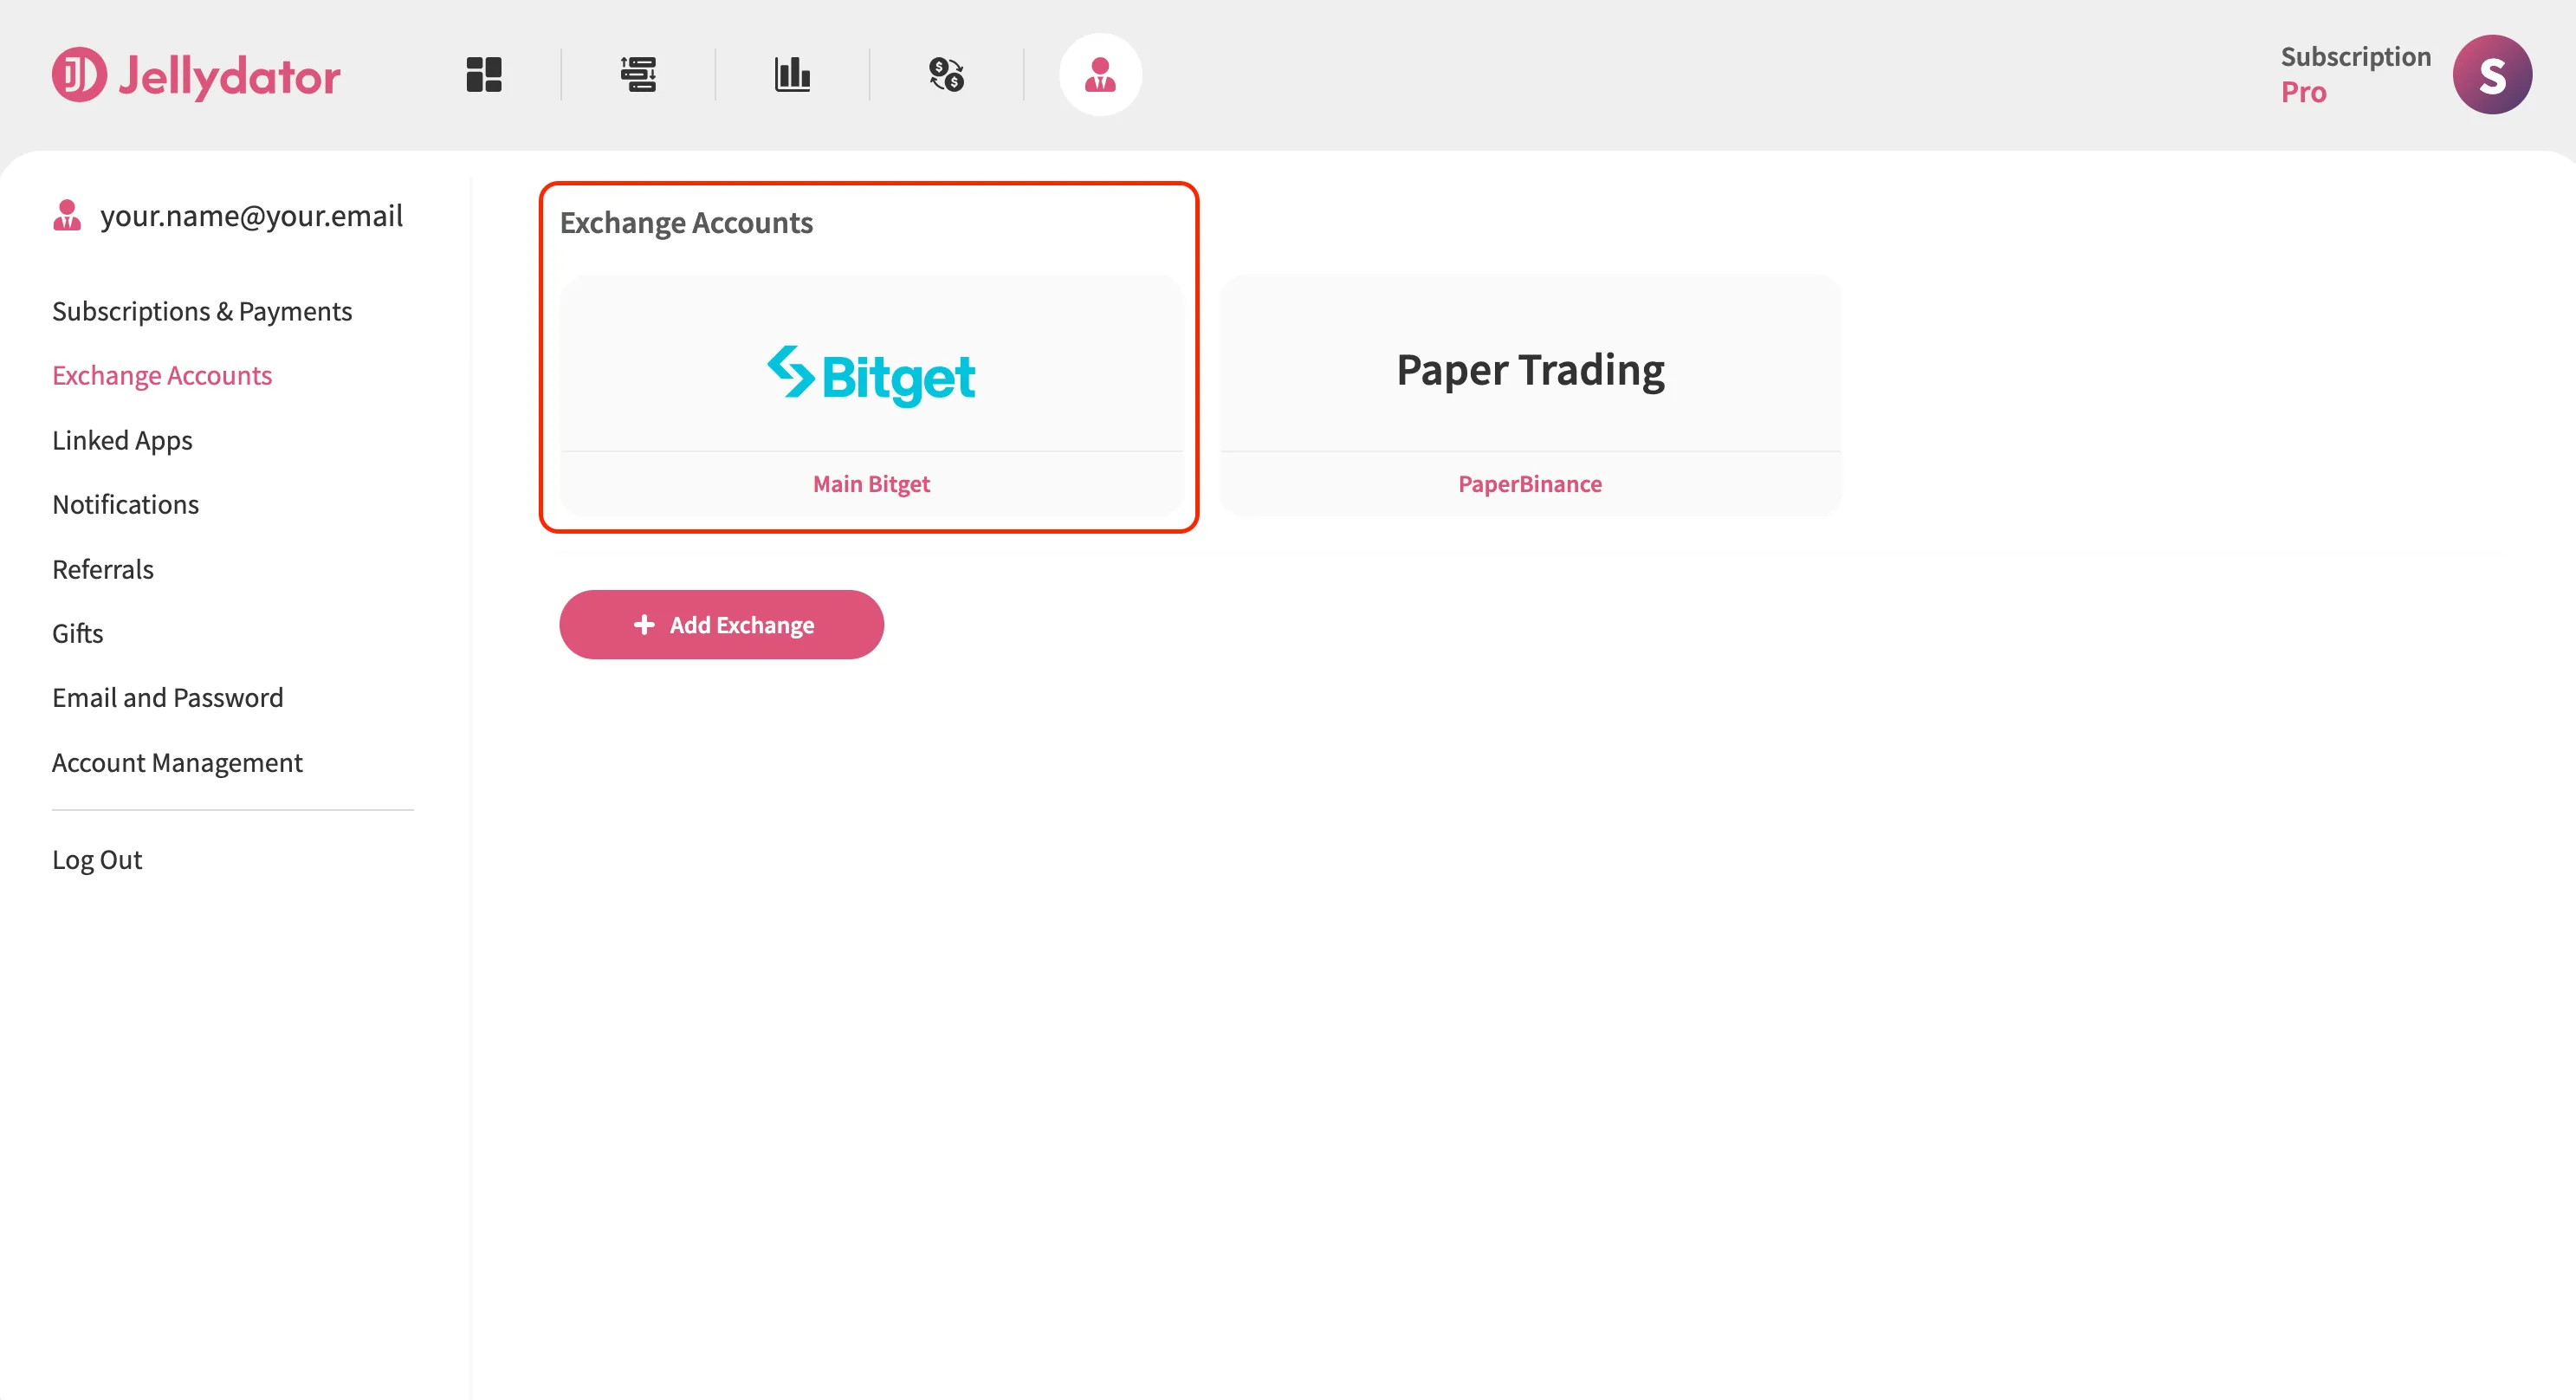
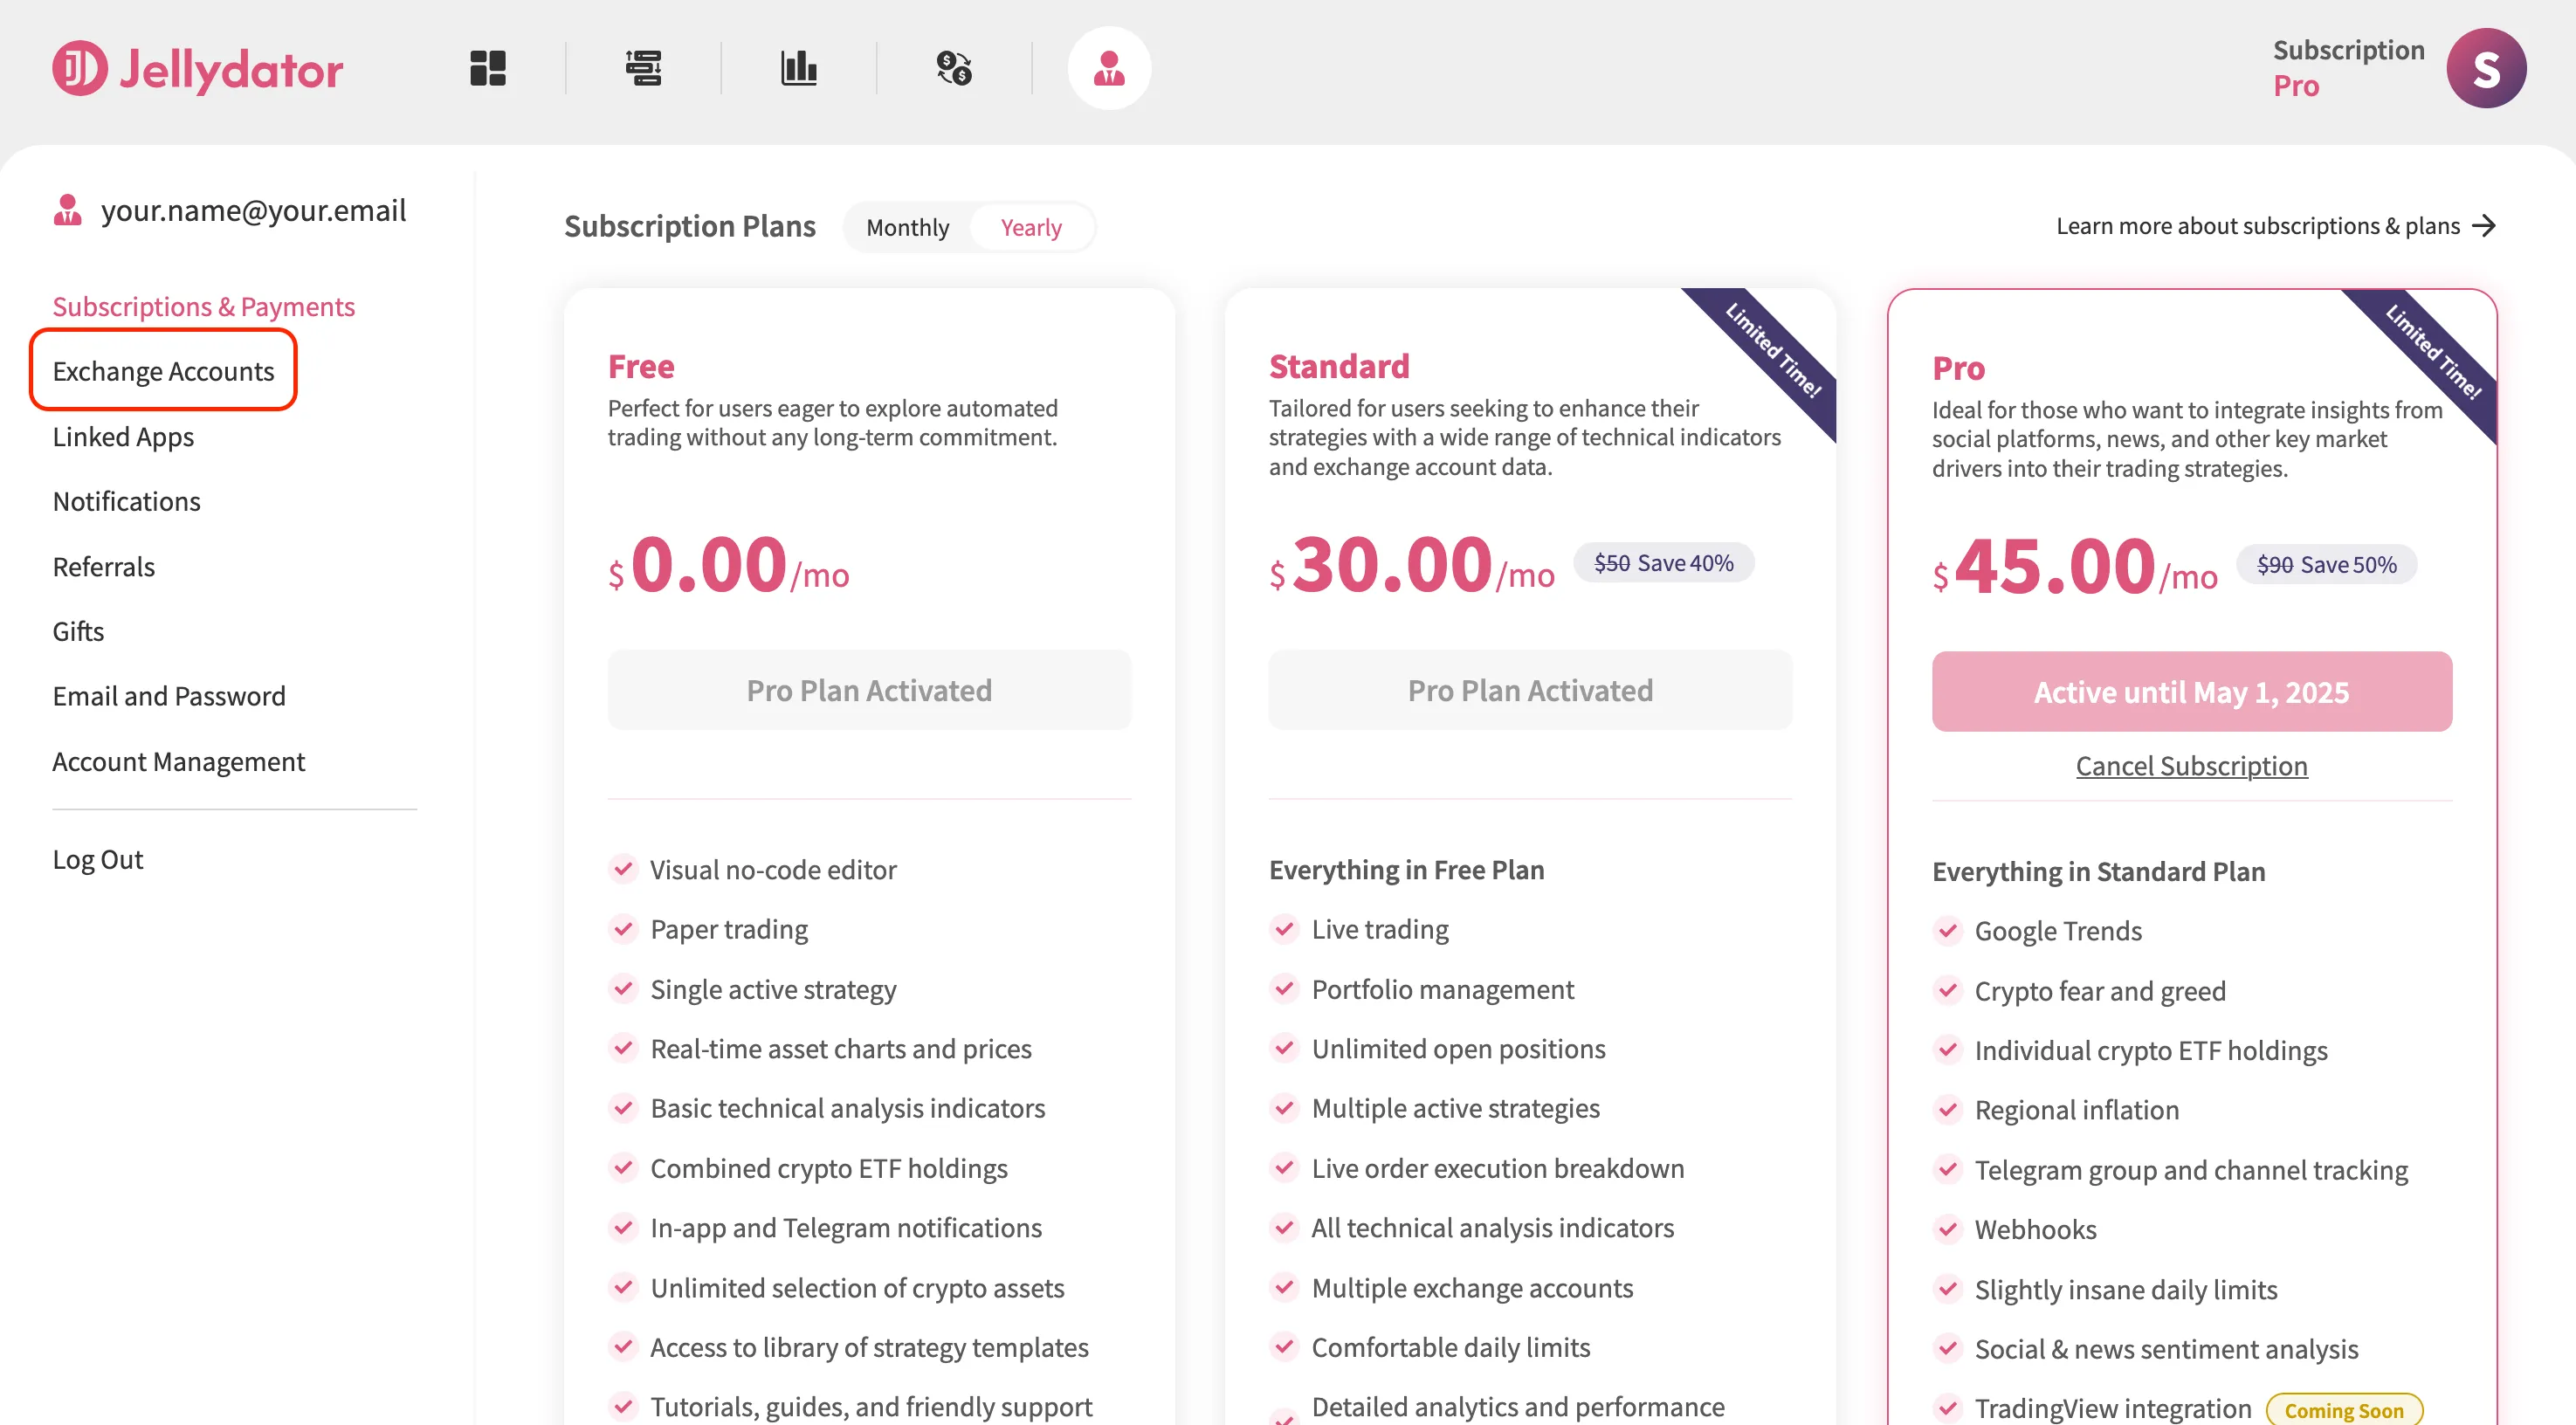
Step 2: Open Exchange Accounts Sub-Page
Next, go to the “Exchange Accounts” sub-page. This section is dedicated to connecting and managing your exchange accounts.
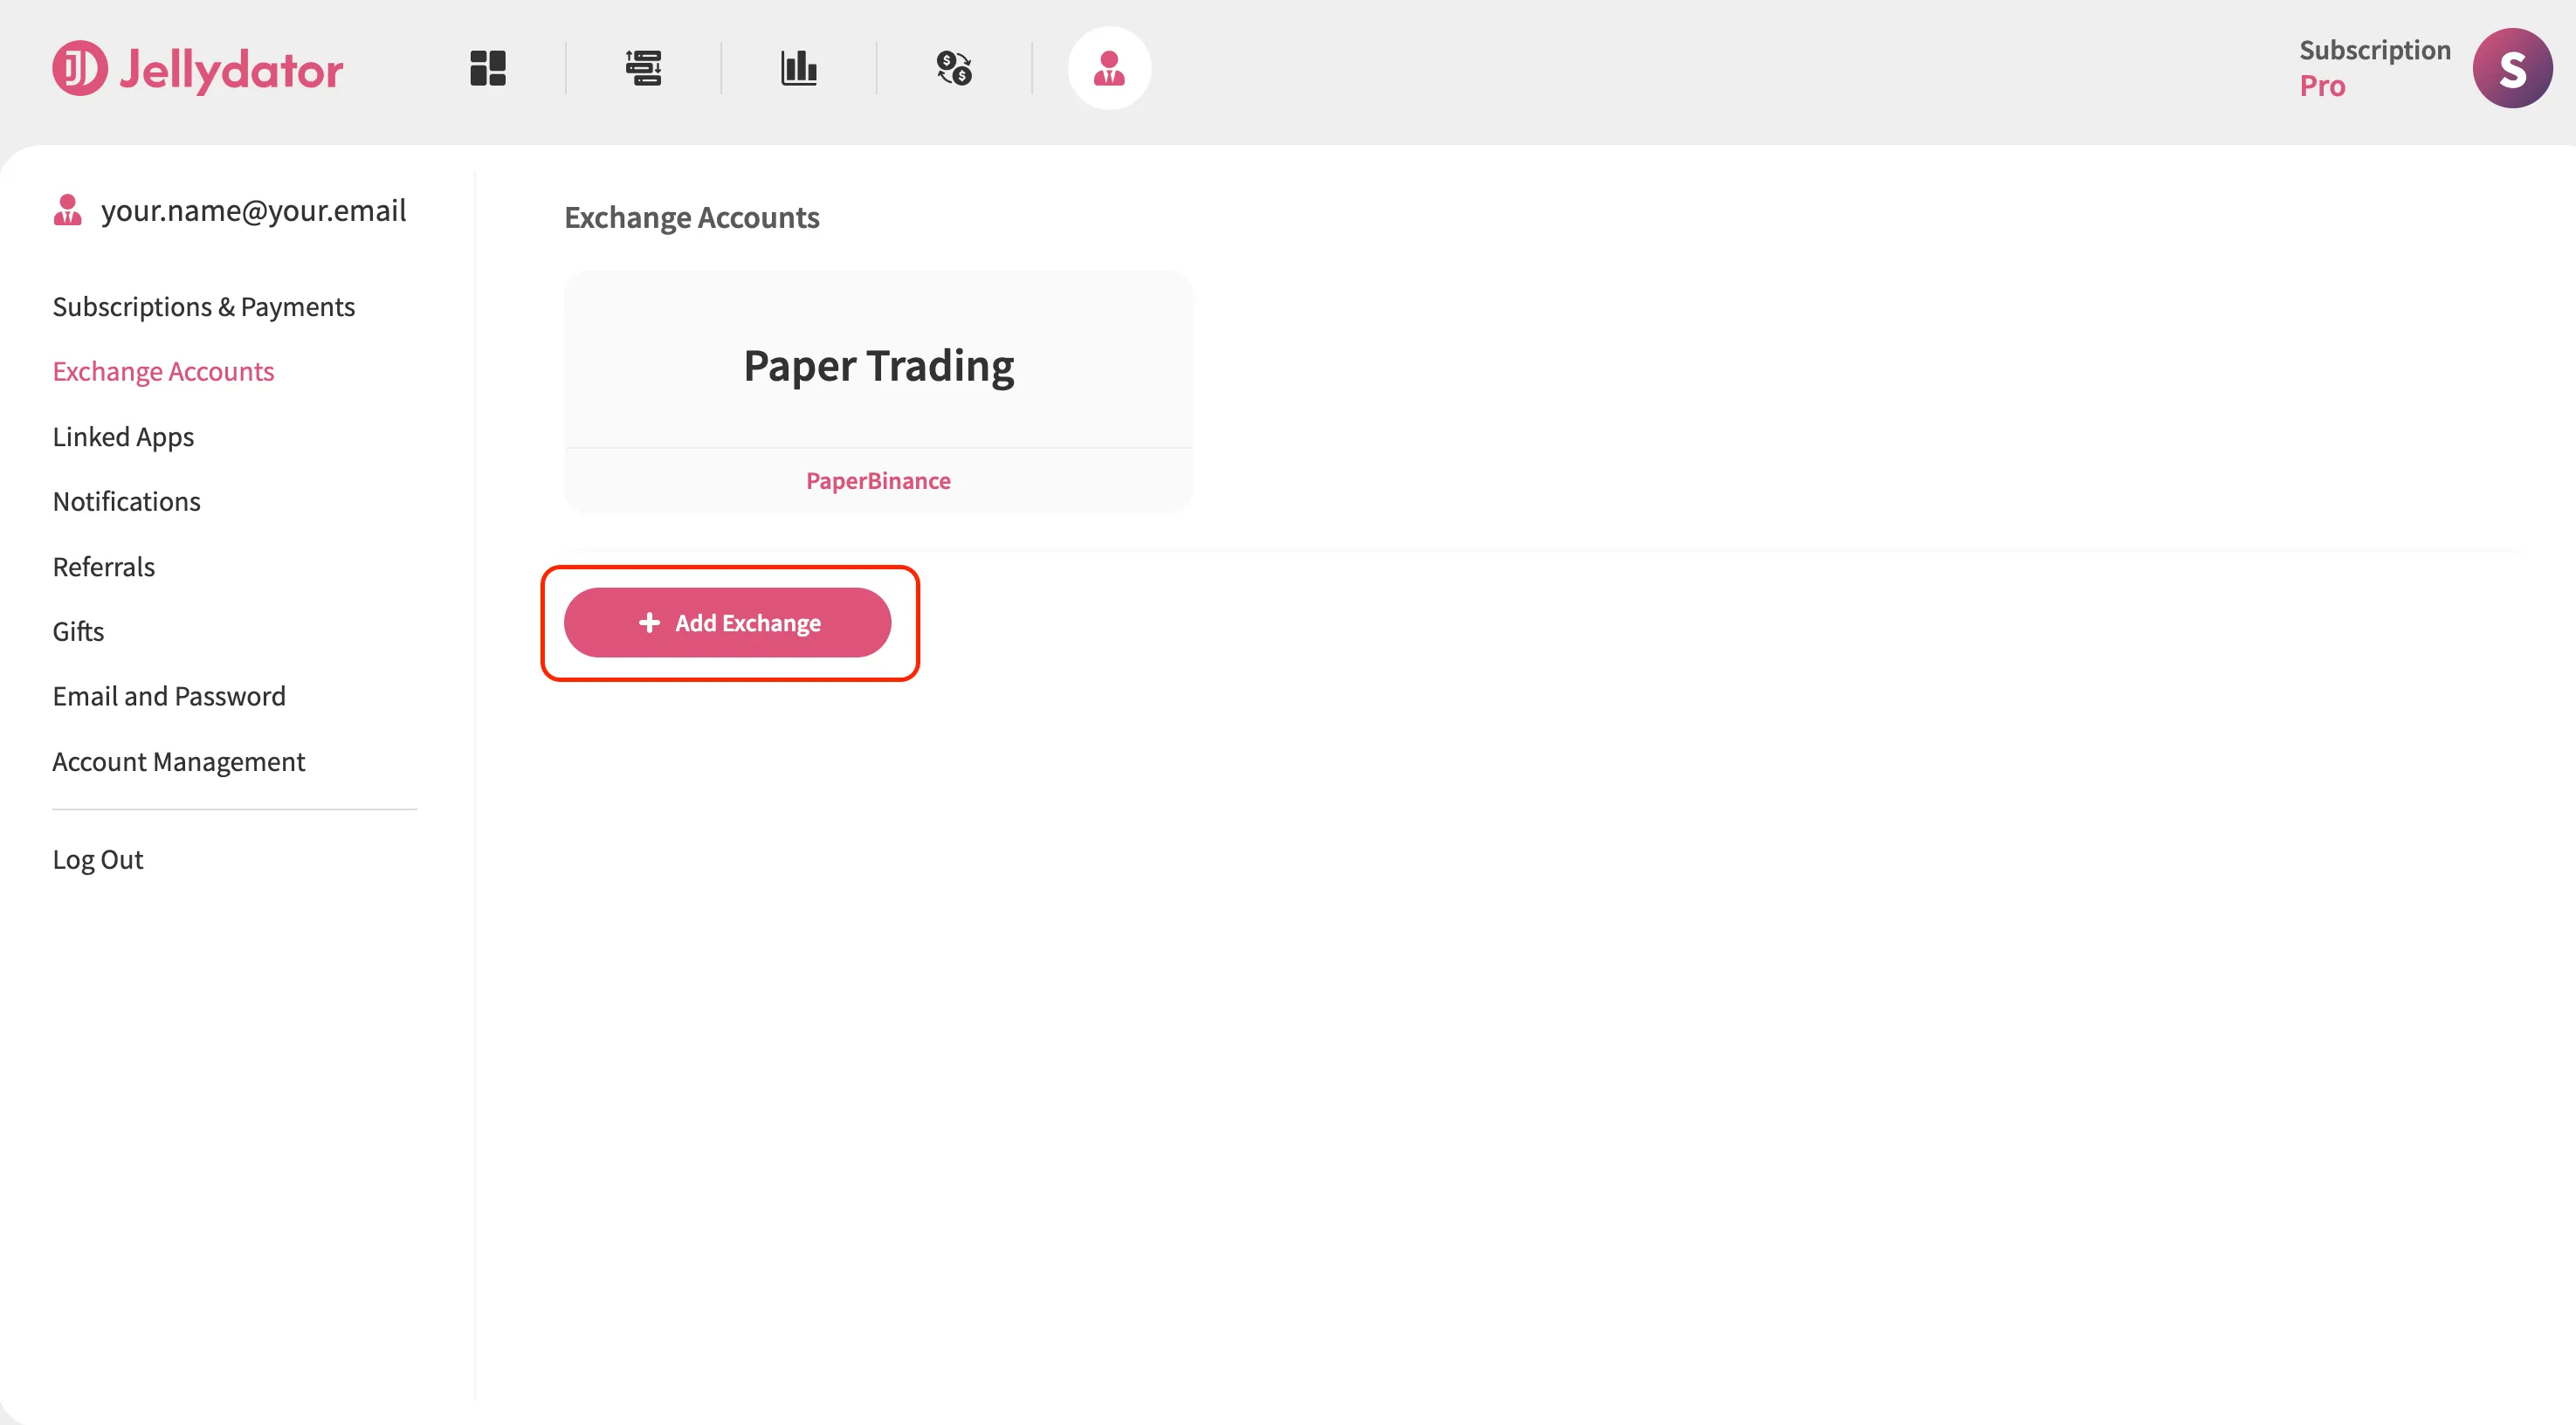
Step 3: Add a New Exchange Account
If you already have other exchanges connected, click “Add Exchange” to start connecting a new one. If this is your first connection, you can move on to the next step.
Step 4: Create an Exchange Connection Name and Select an Exchange Type
Pick a name for this connection that you’ll recognize later, especially if you plan to add more accounts. Then, select “Bitget” as the exchange type.

Step 5: Navigate to API Key Page on Bitget
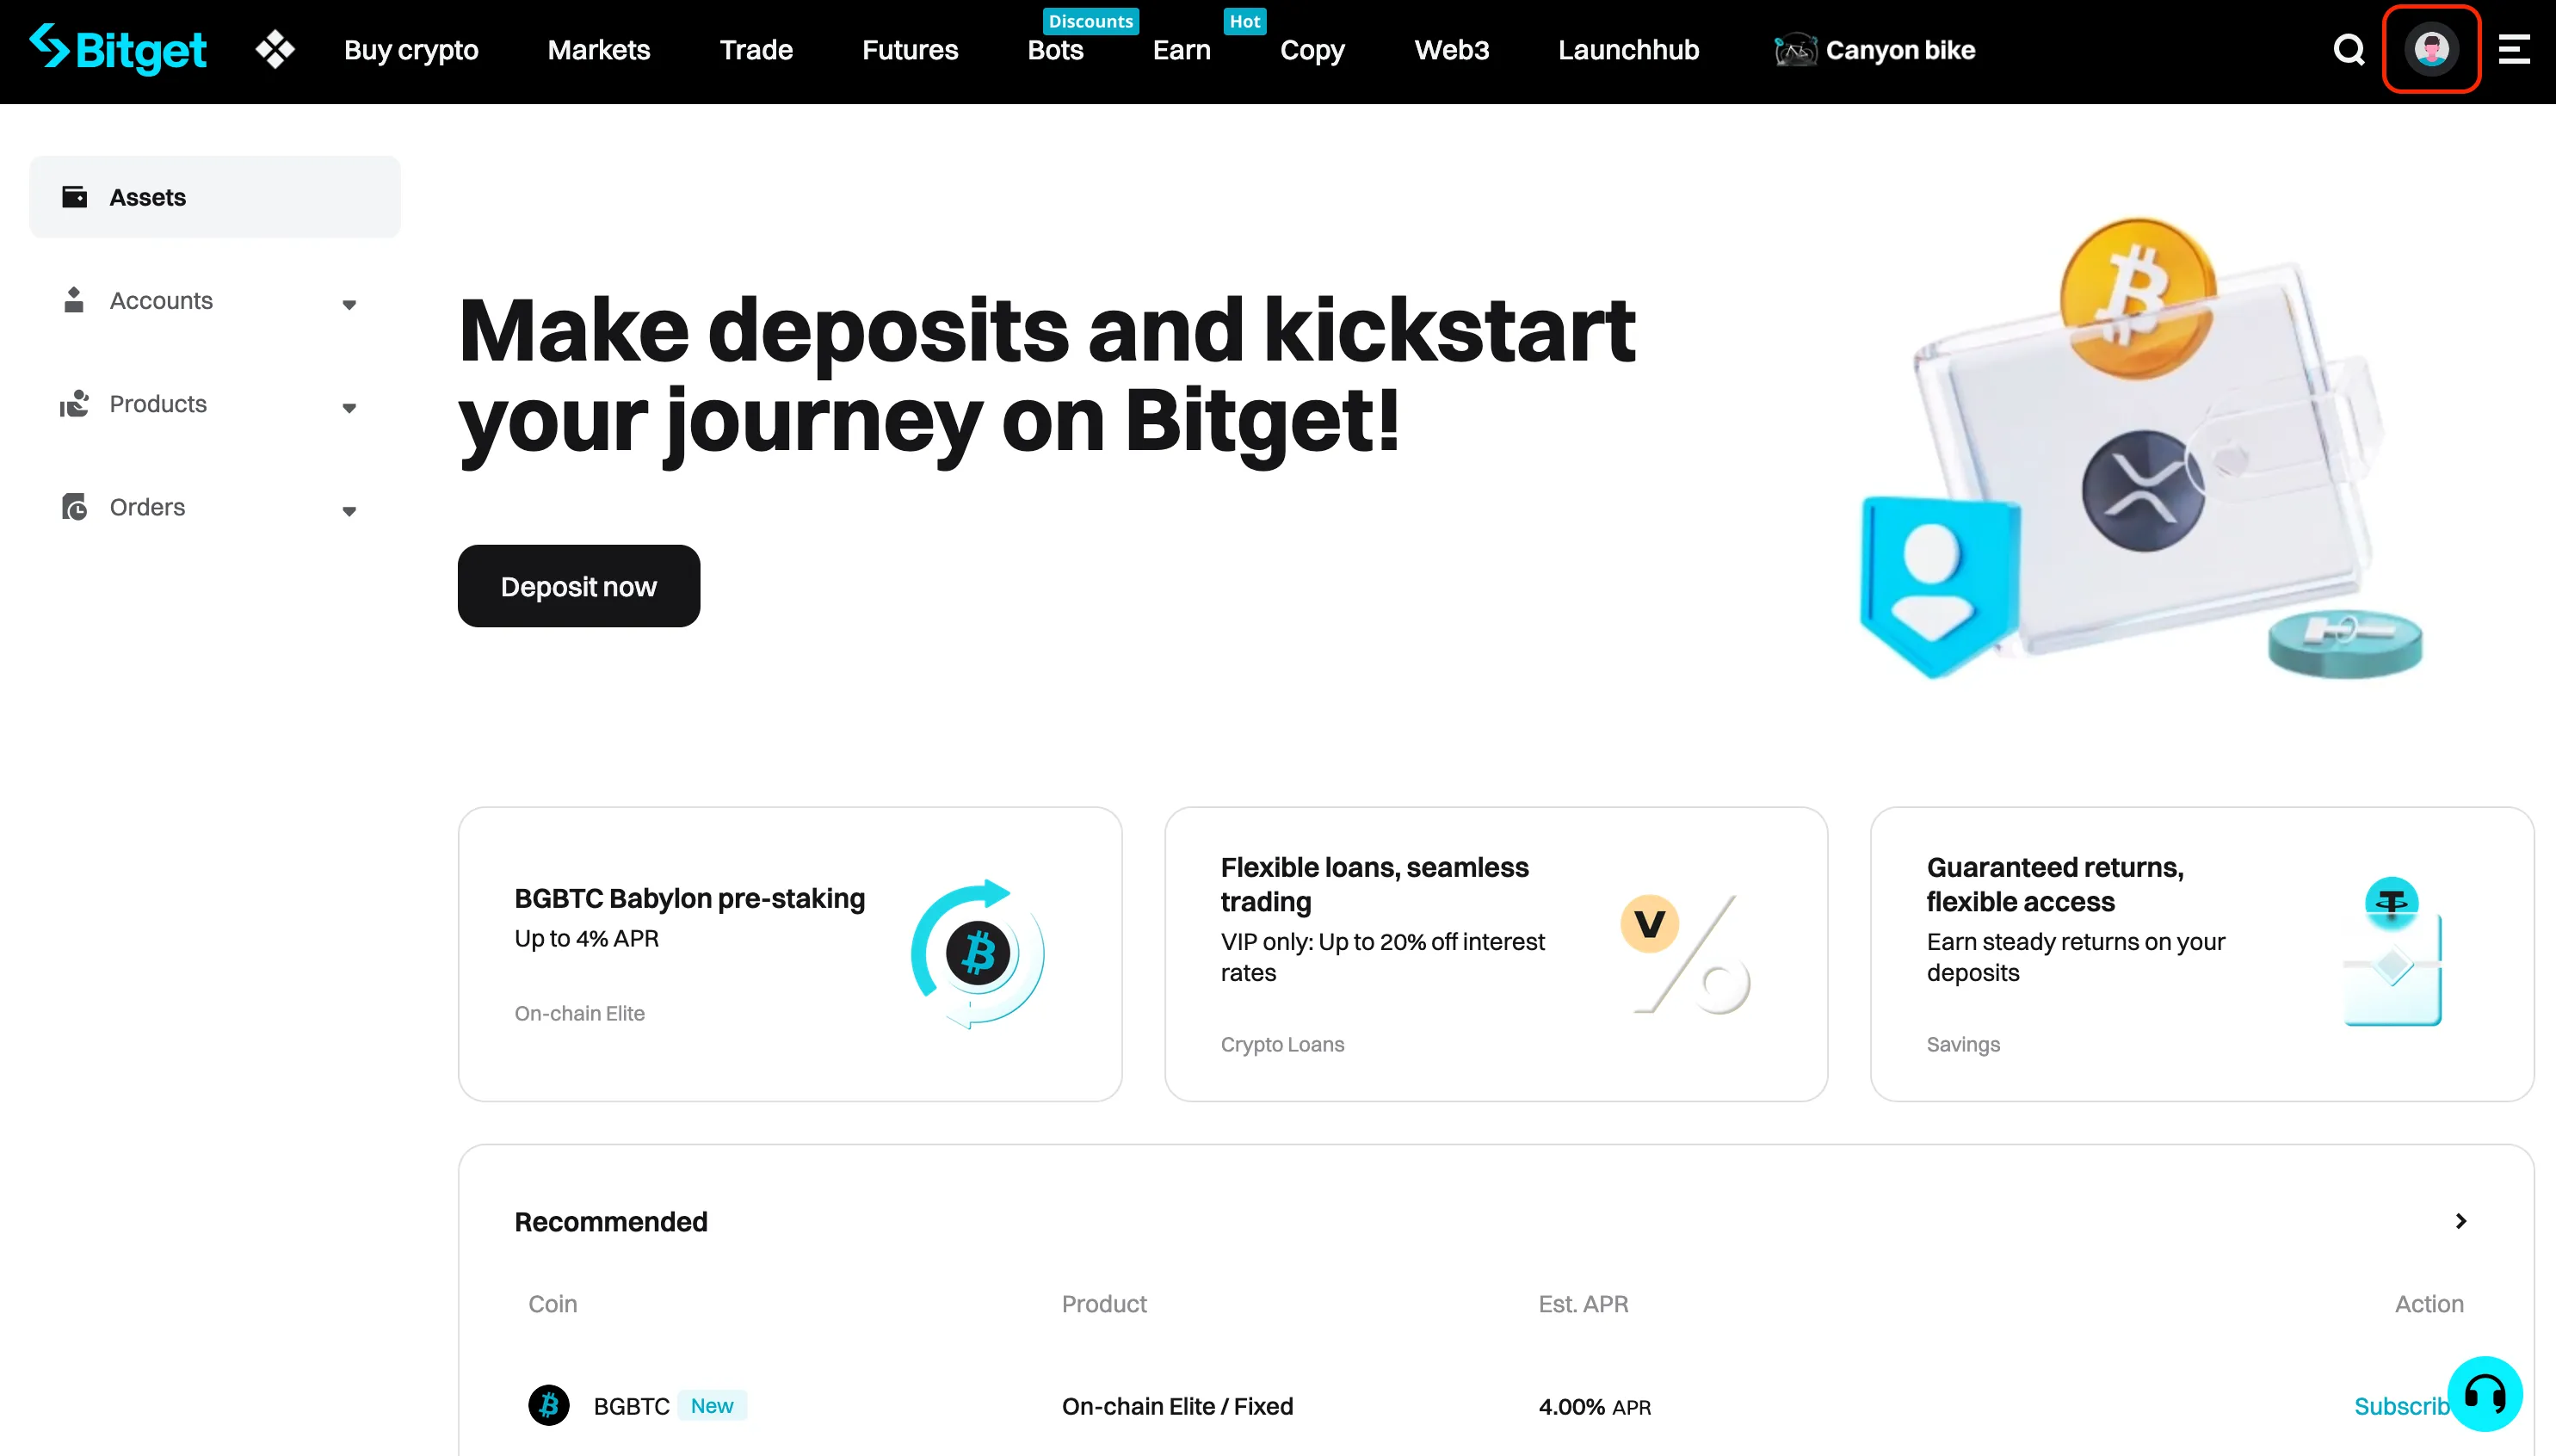
Open a new browser tab and log in to your Bitget account (https://www.bitget.com/login). Once you’re in, click on the profile icon in the top-right corner.
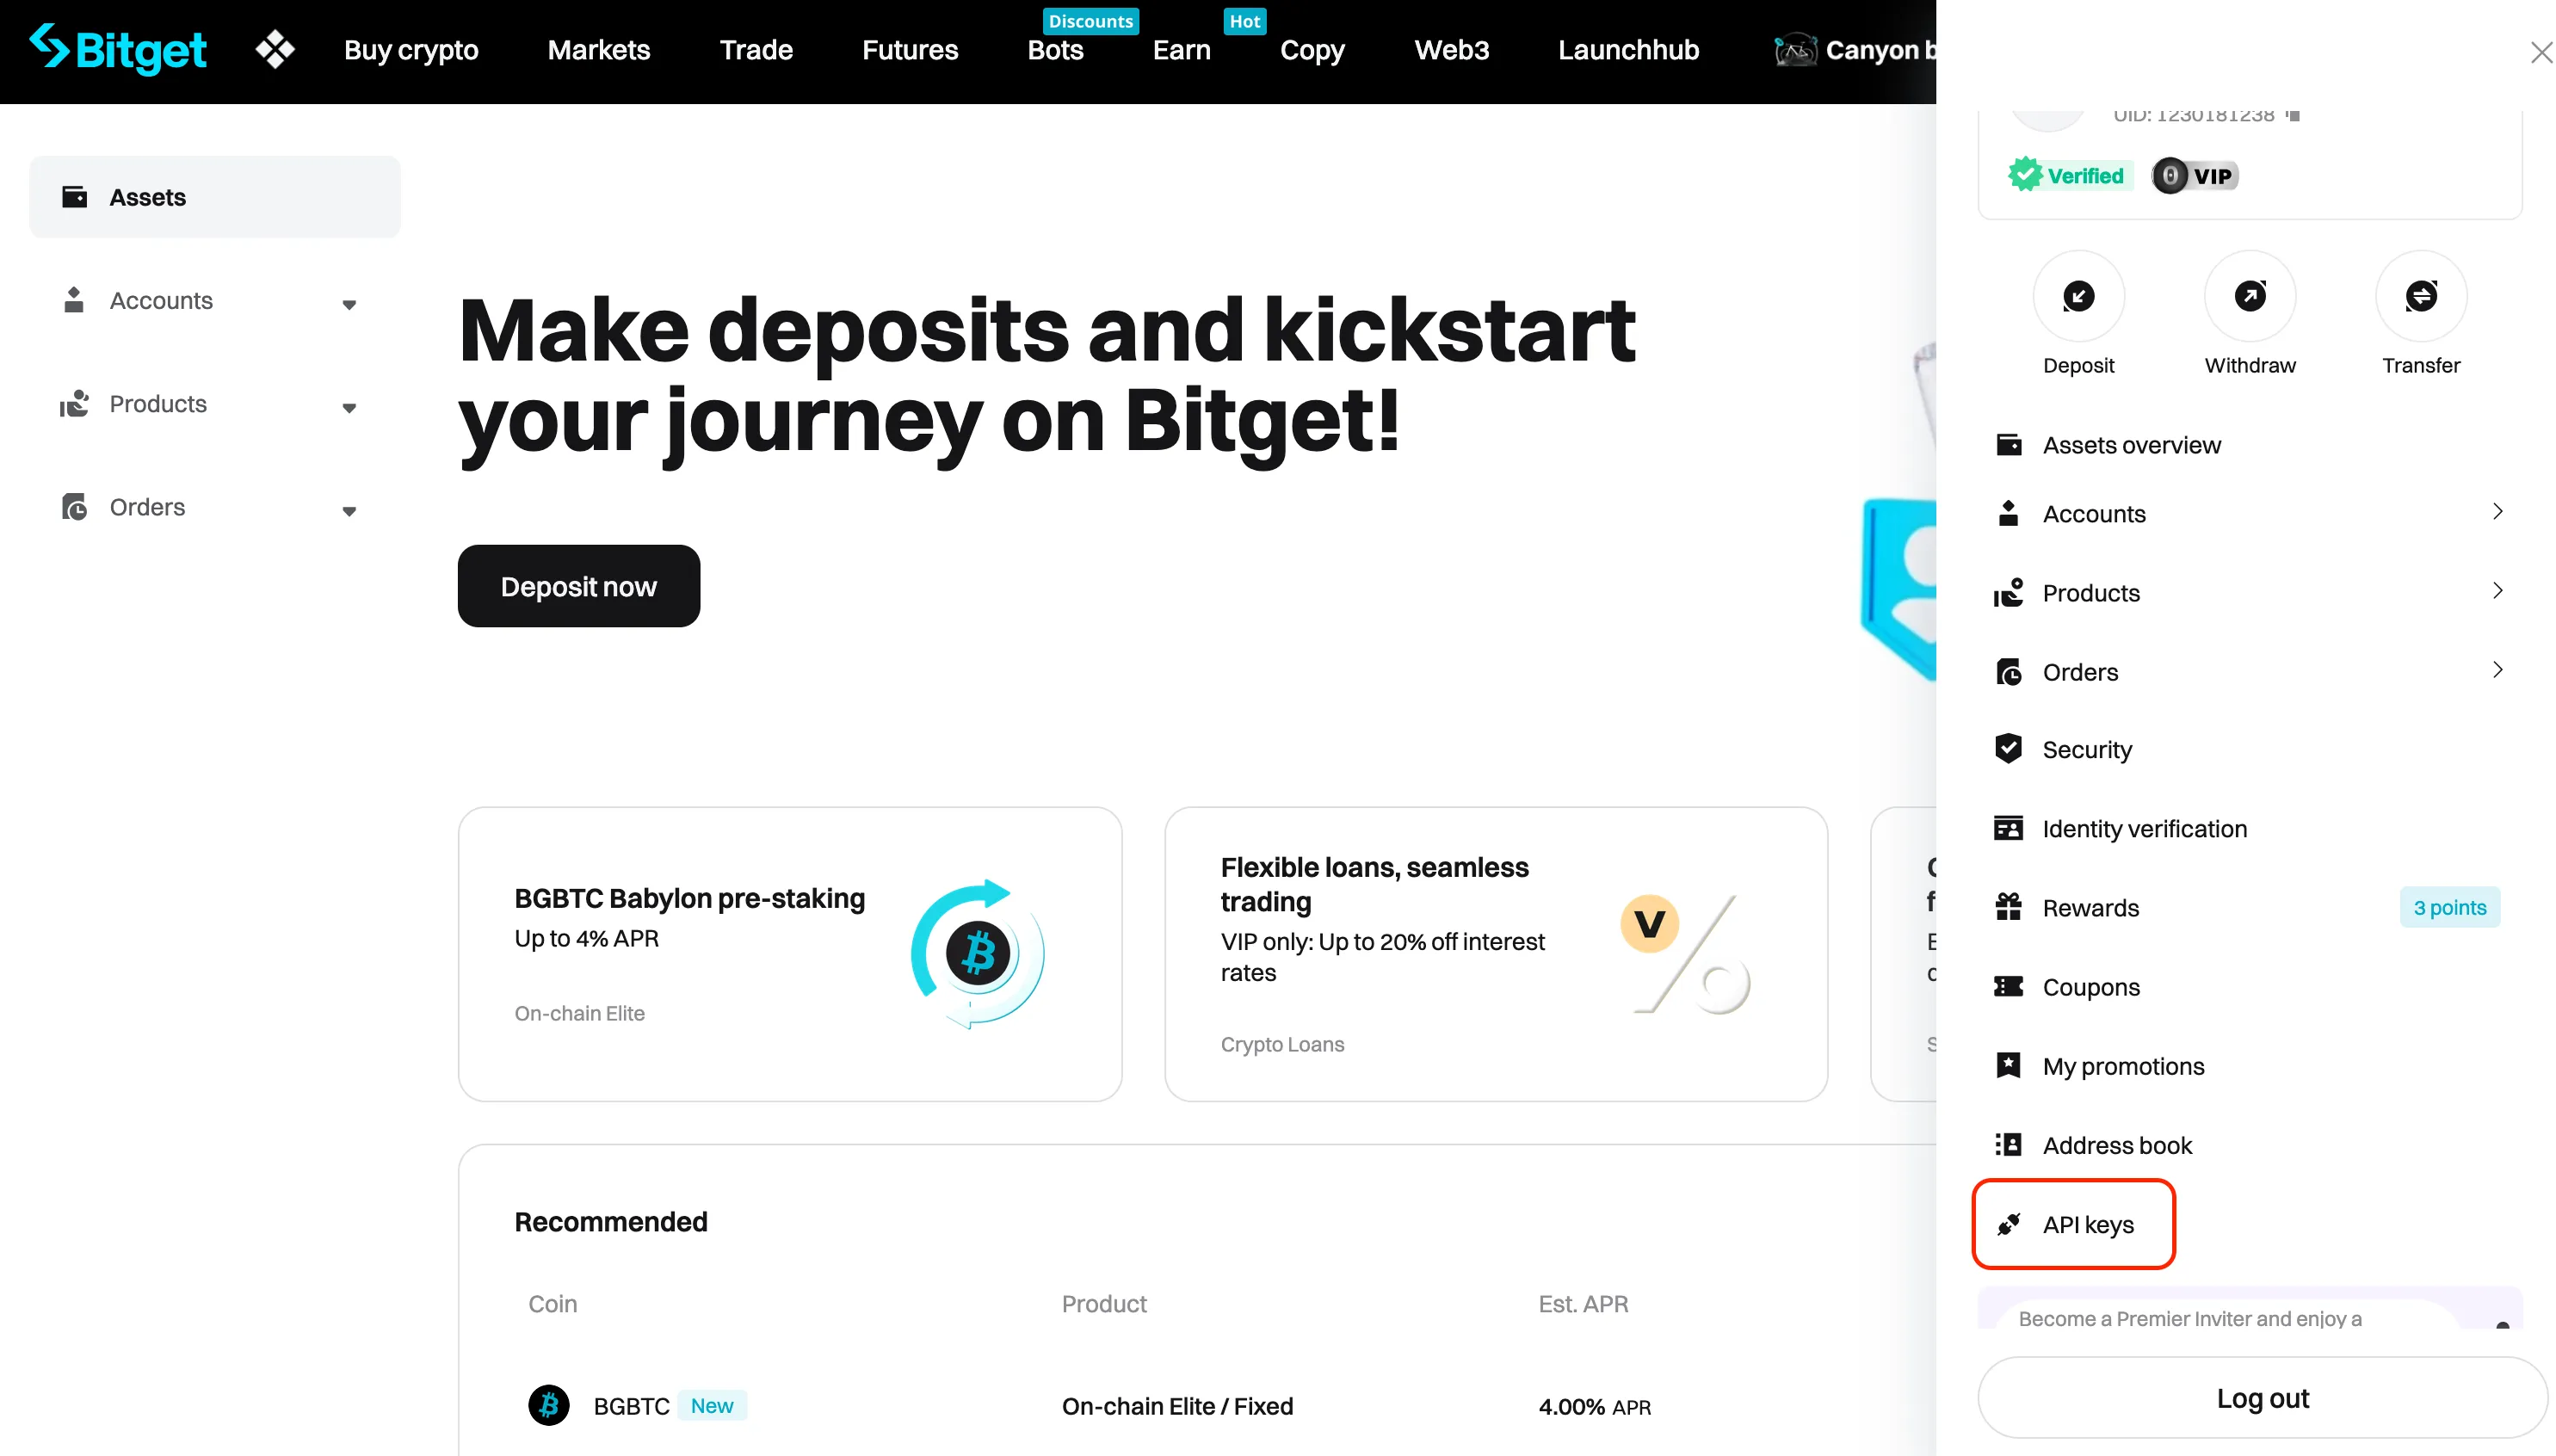
Then, select “API keys” from the dropdown menu.
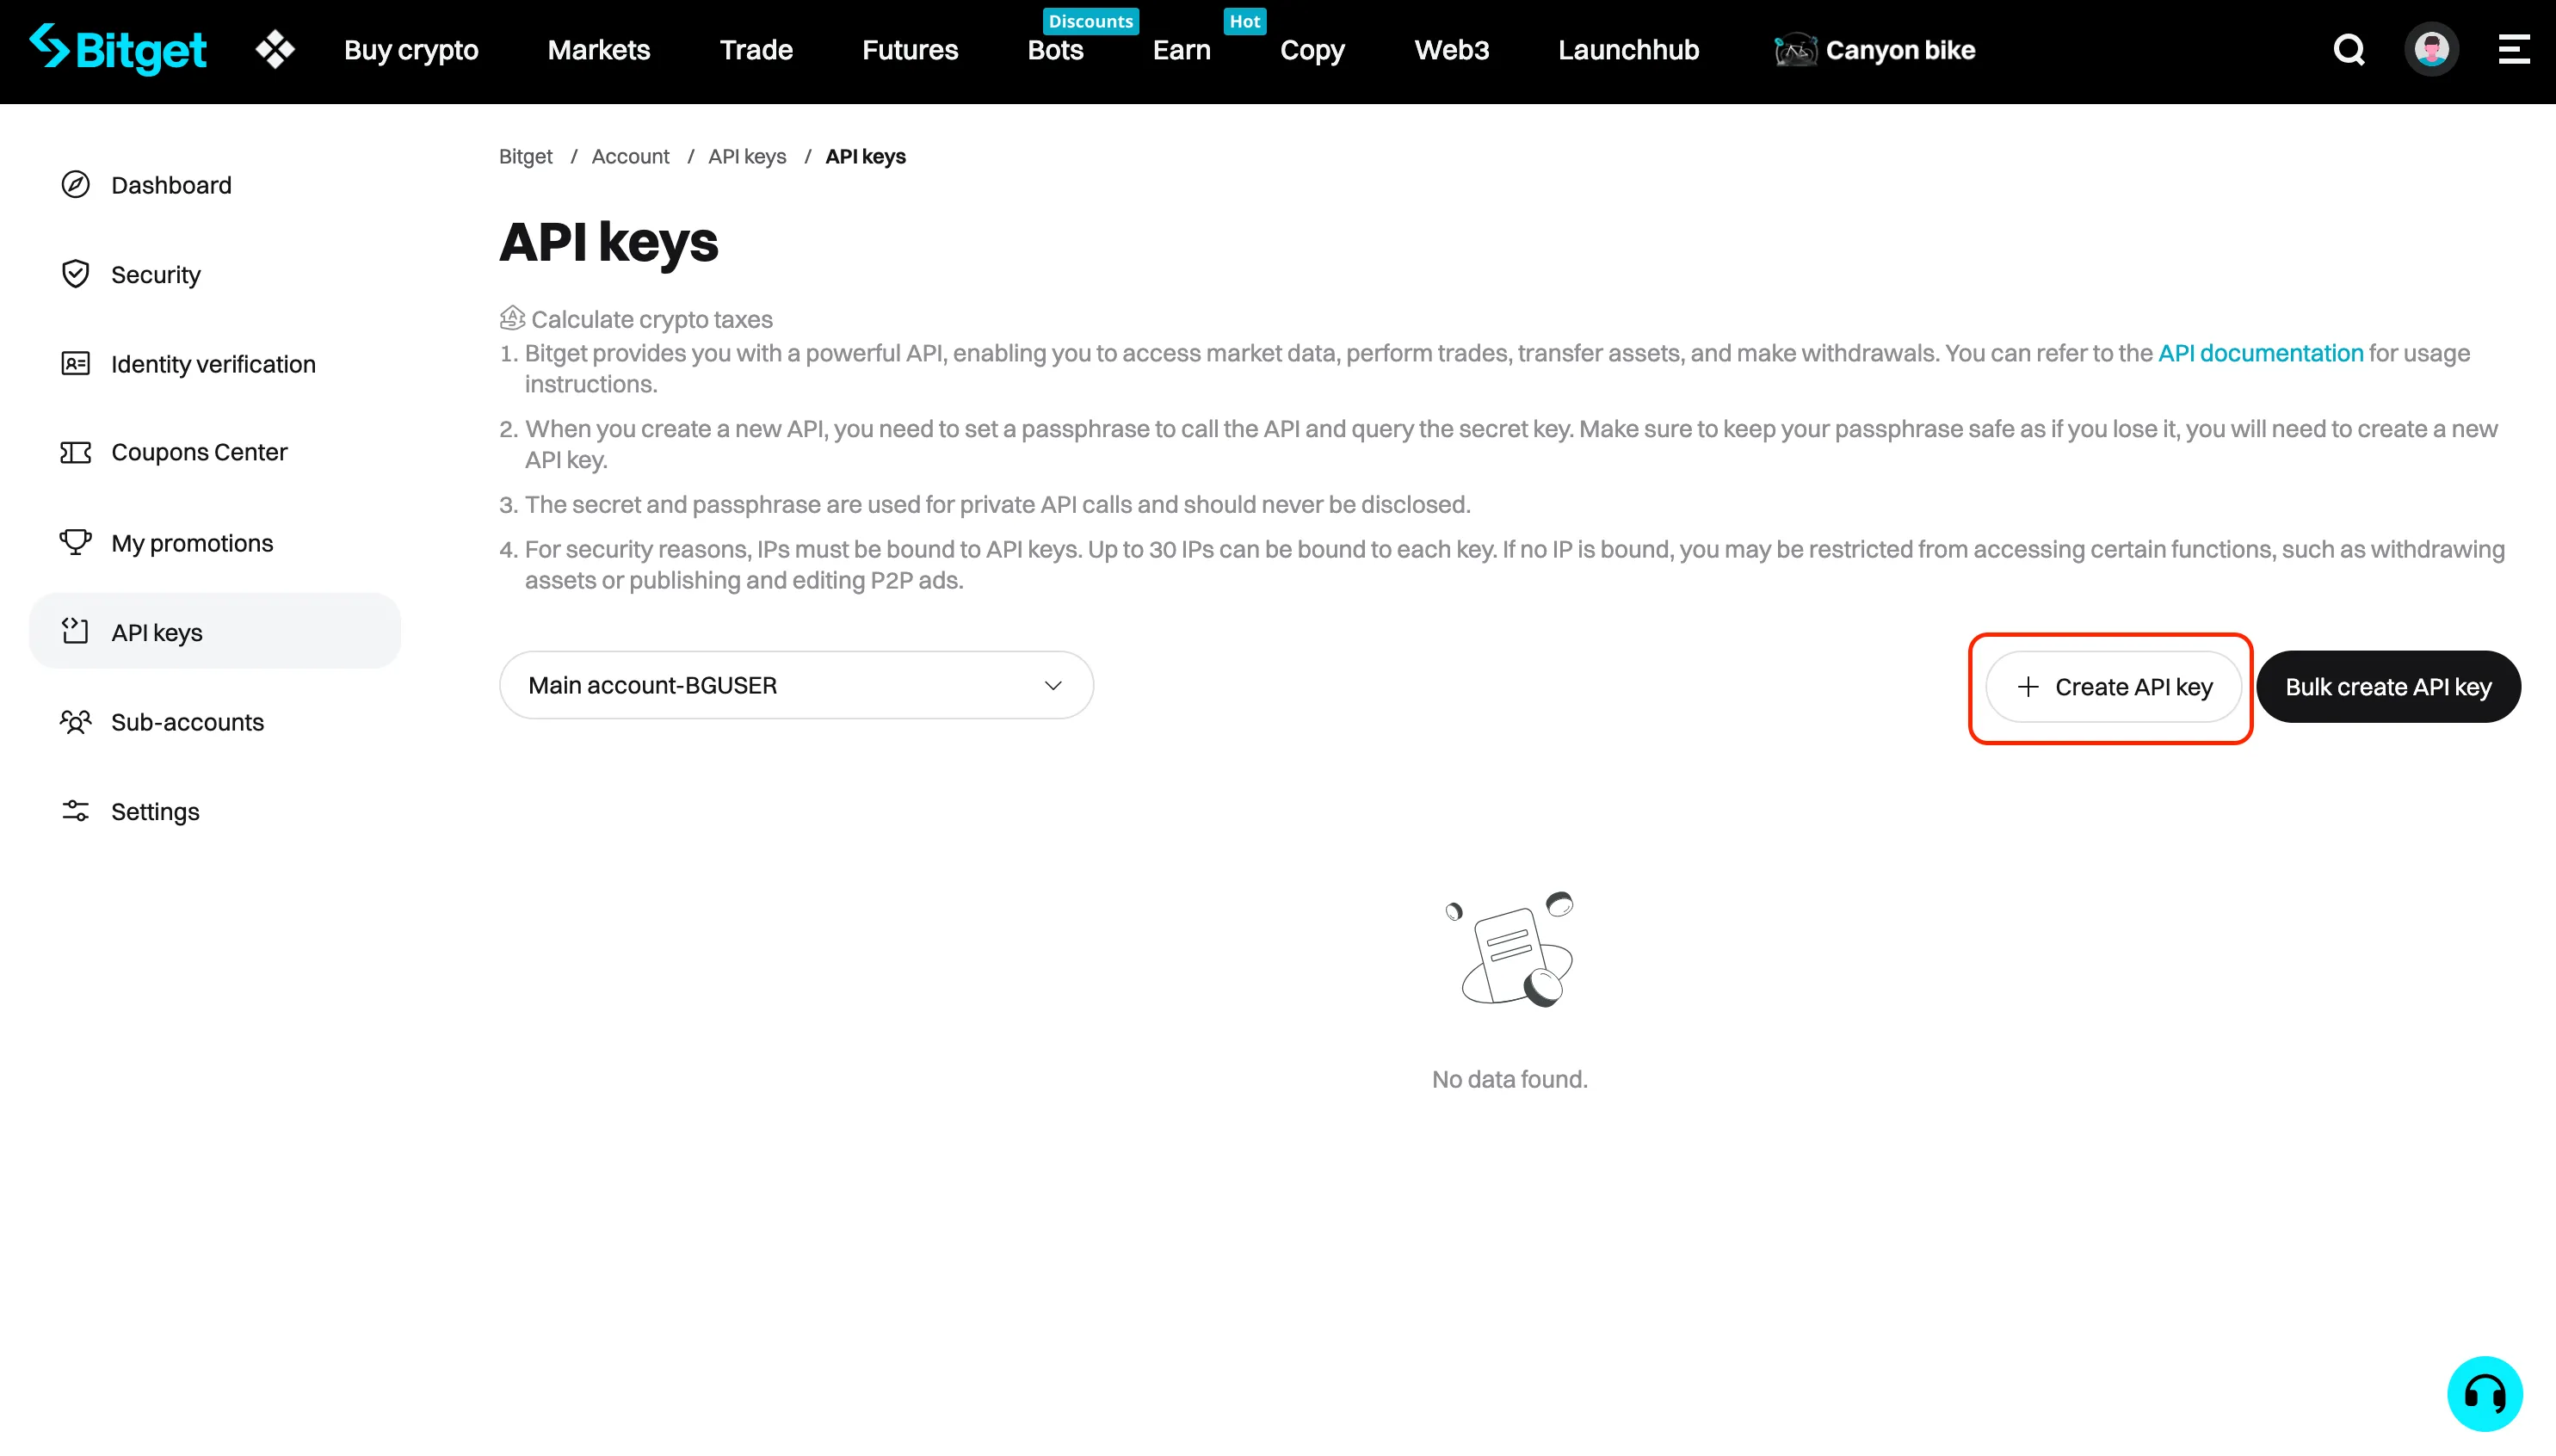
Step 6: Create a Bitget API Key
Click on the “Create API key” button.
Next, choose the “System-generated API key” option and proceed.

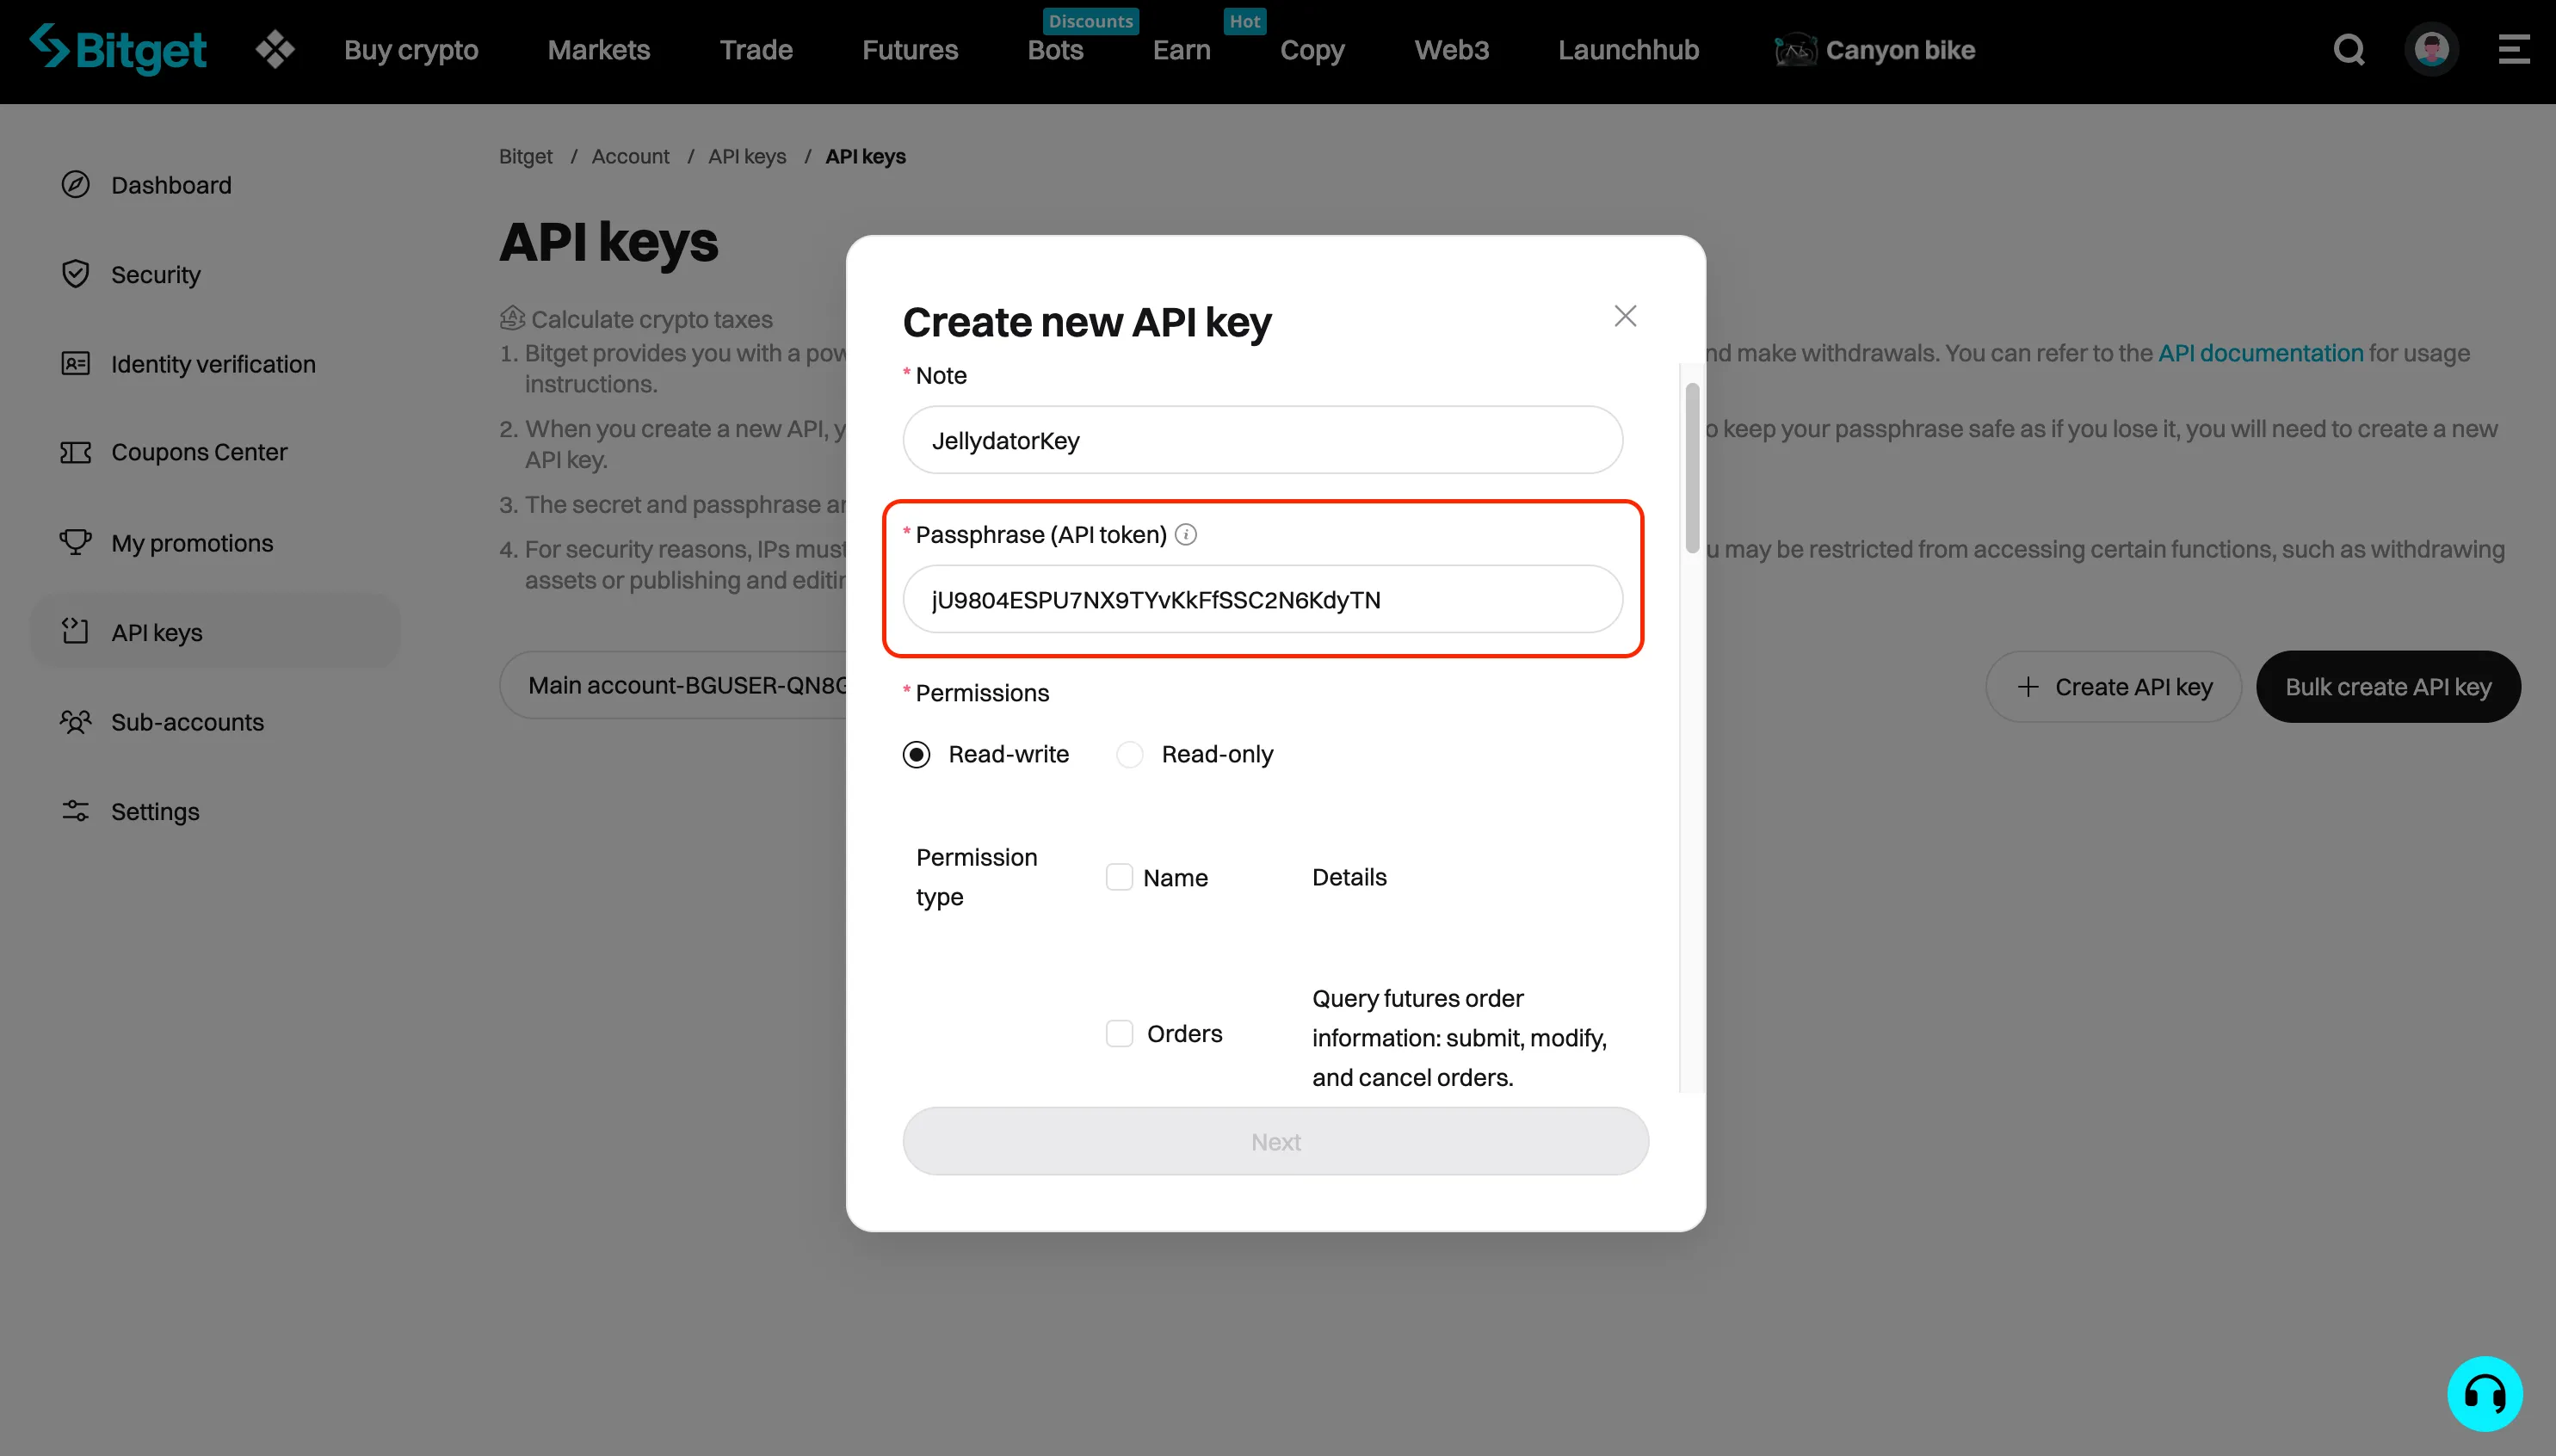
In the “Note” field, create a label (e.g., “JellydatorKey”) for your API key for easy identification within the Bitget system.
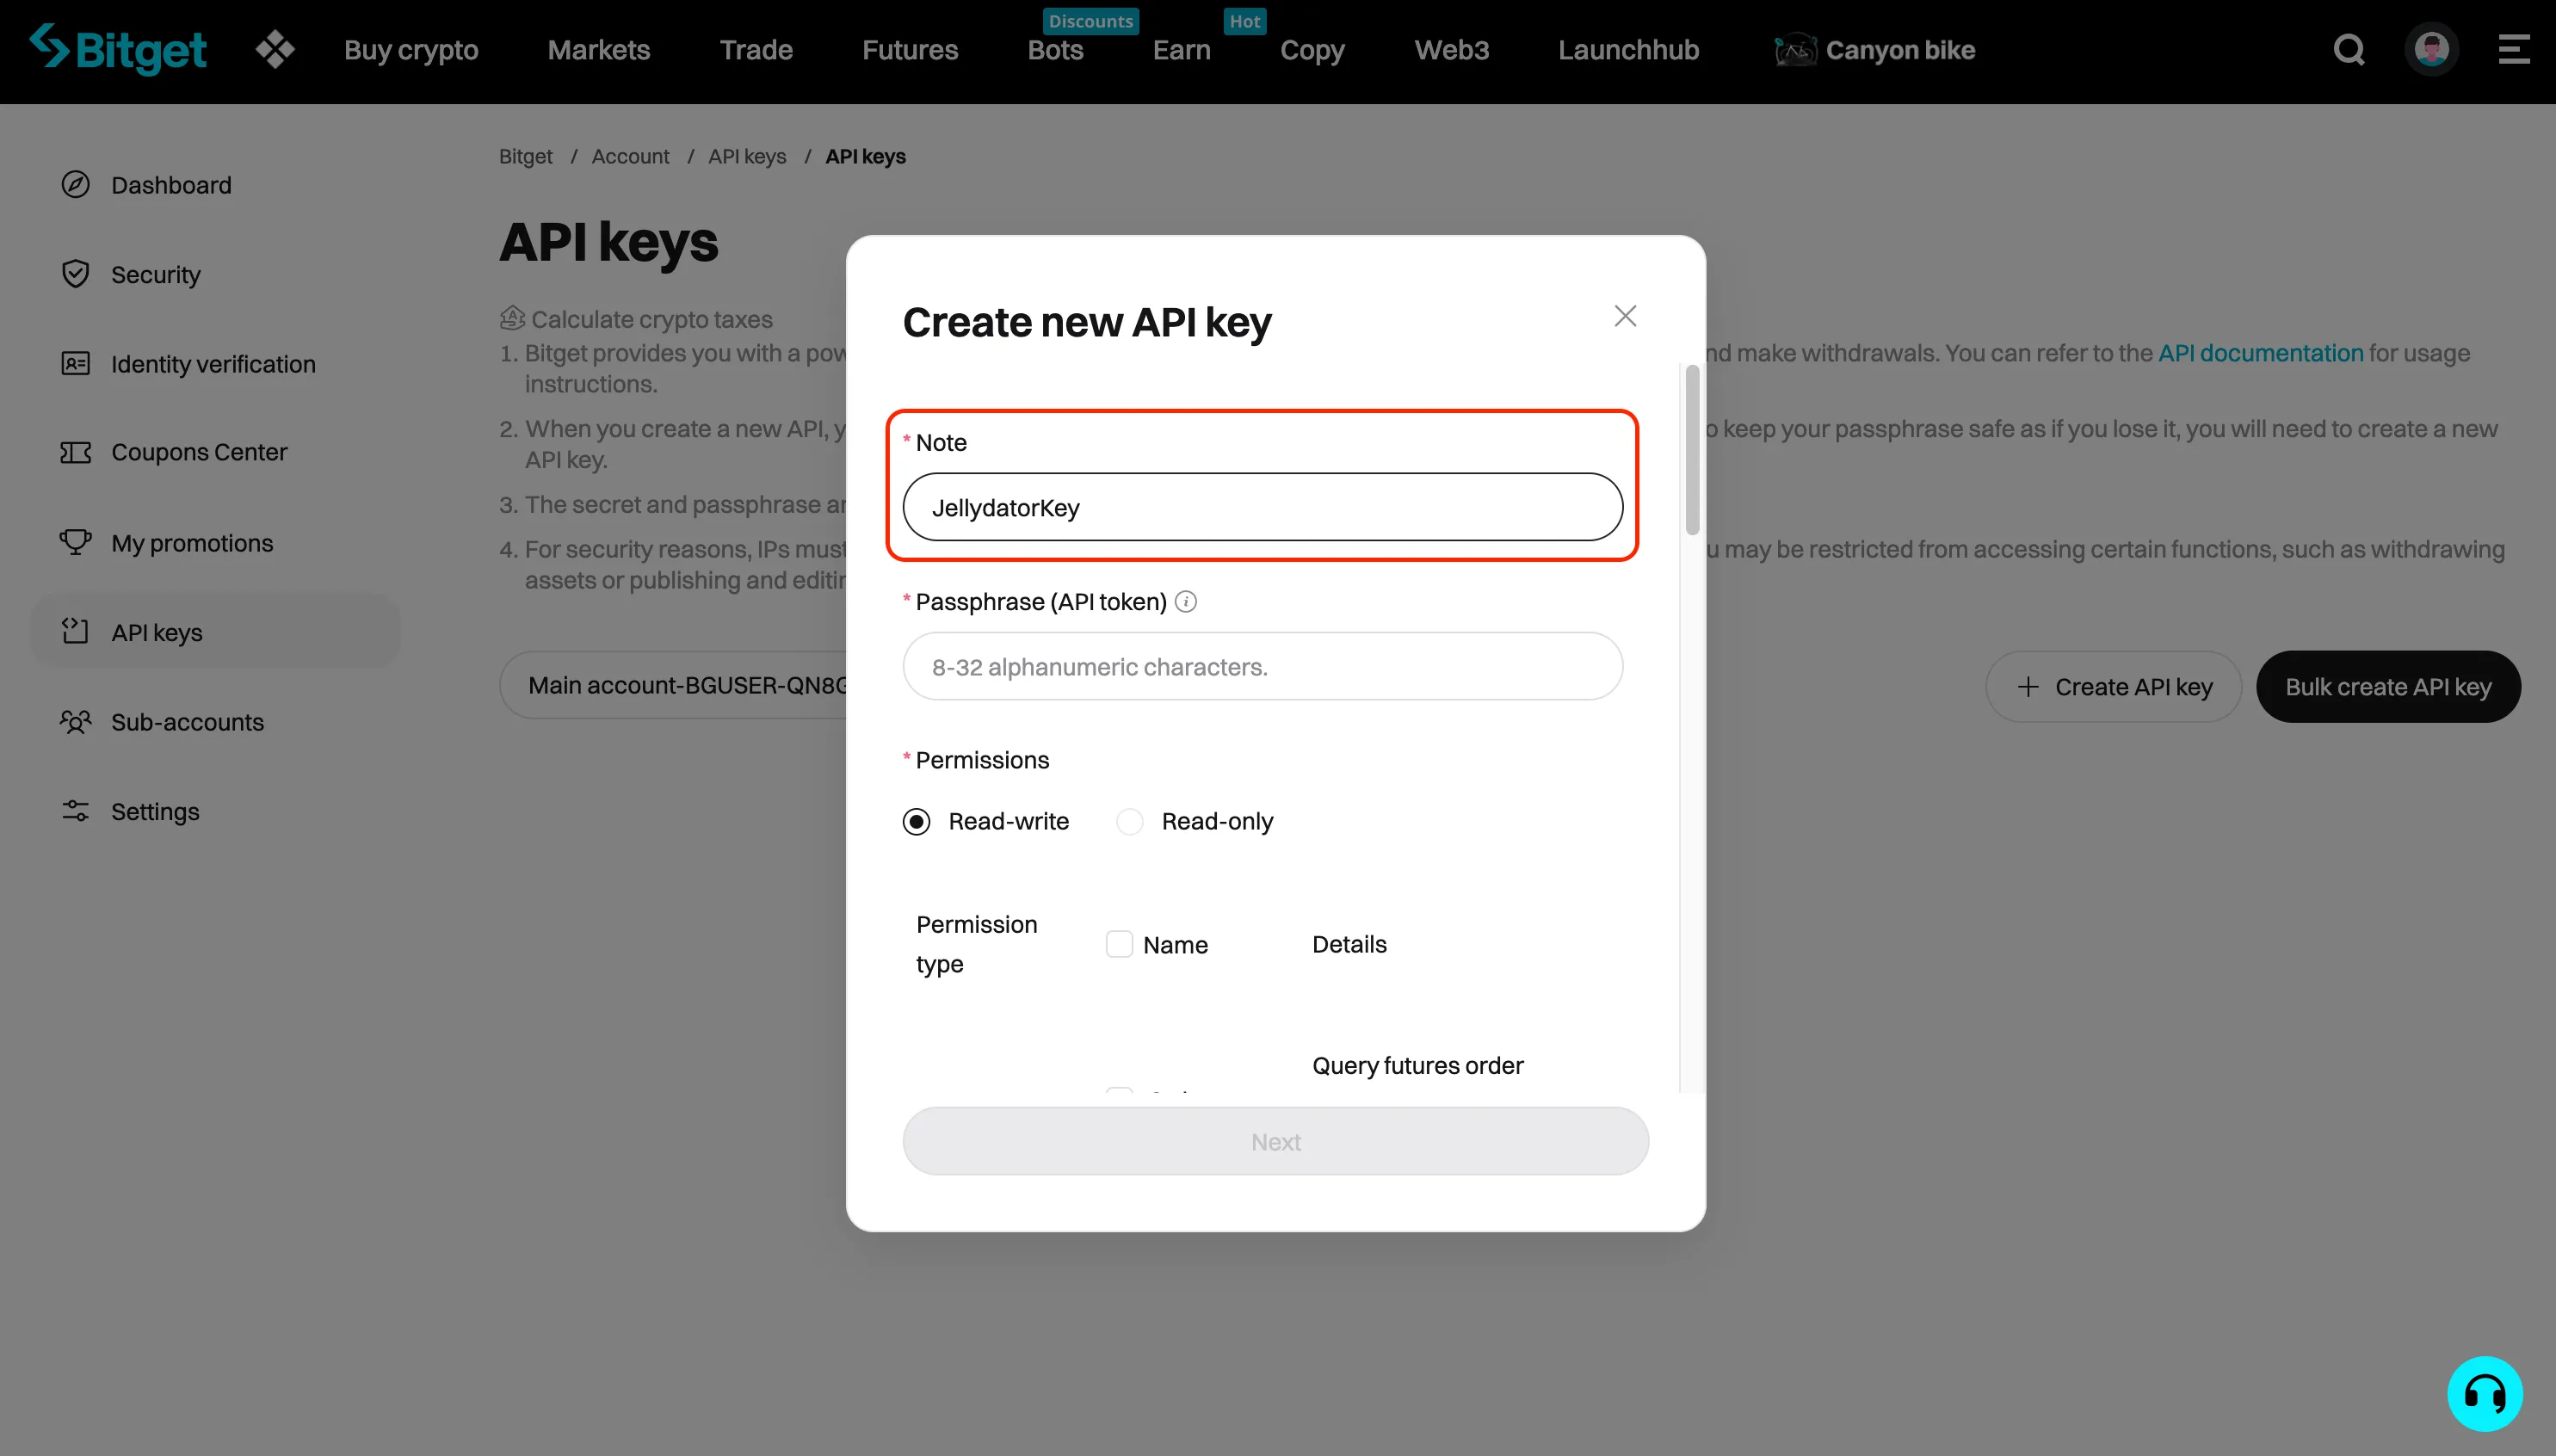
For the “Passphrase,” create a secure 8-32 character alphanumeric passphrase. Make sure to remember it—you’ll need it later.
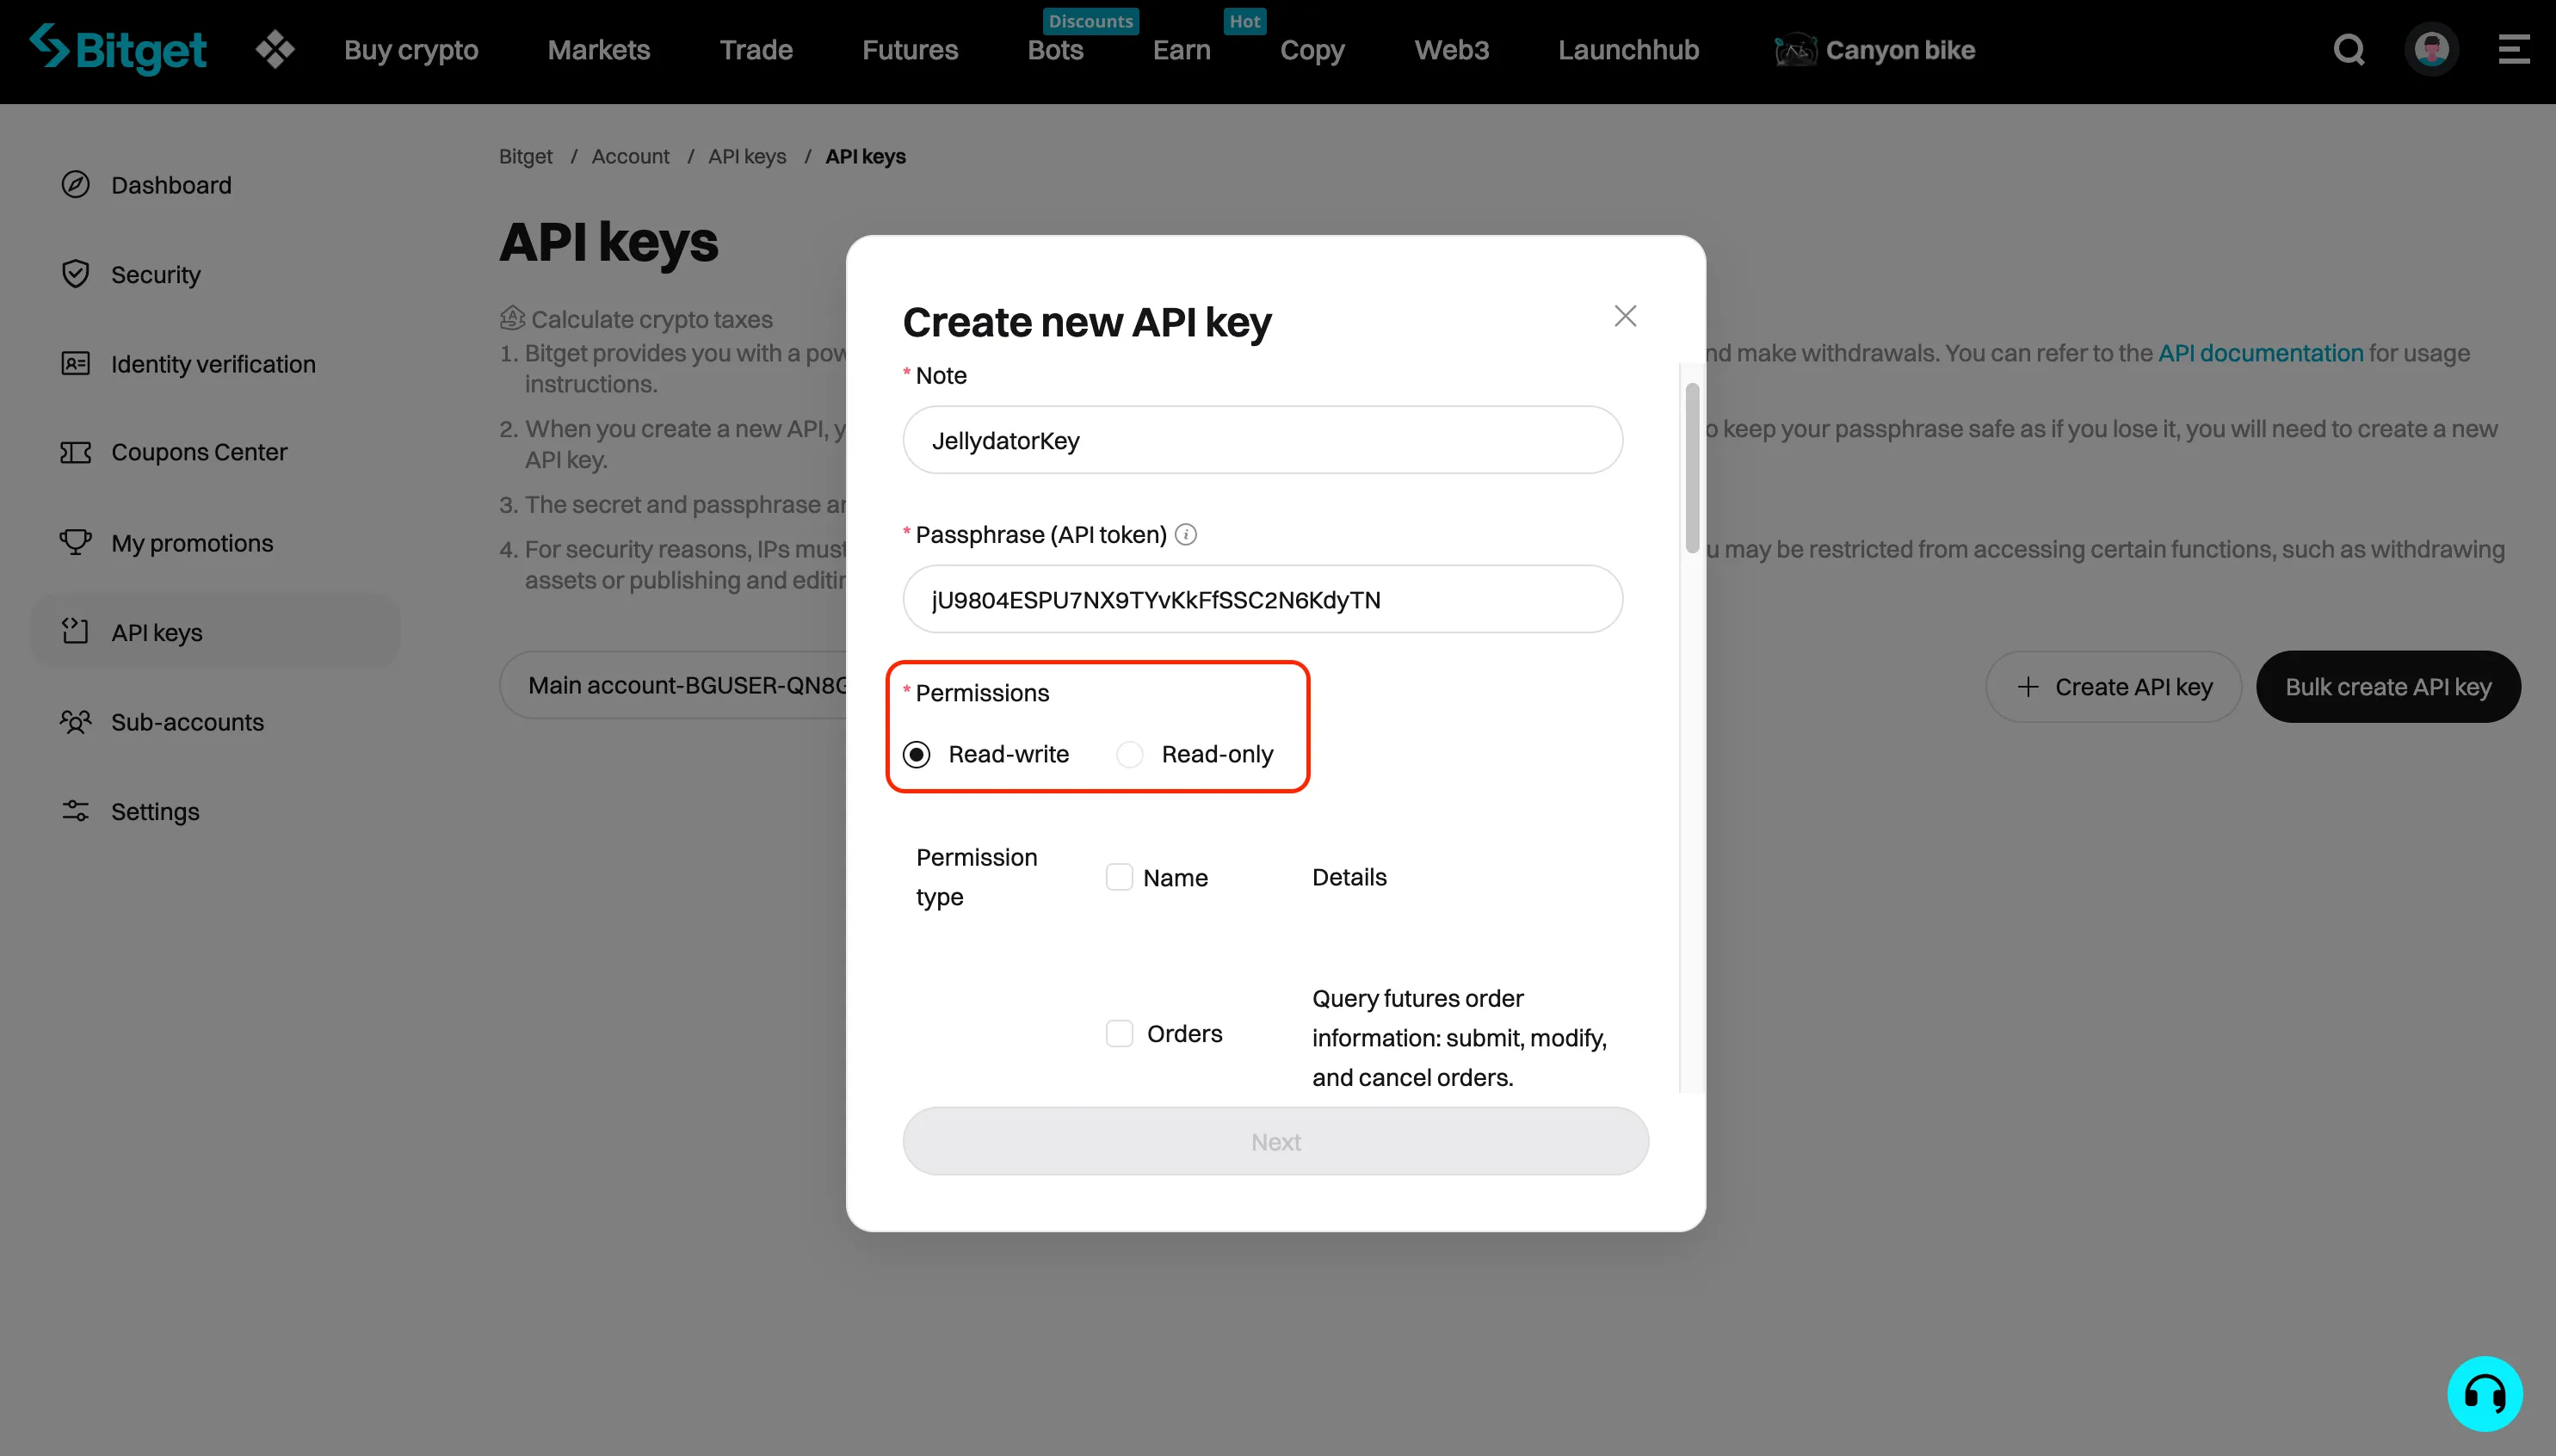
Set the permission to “Read-write.”
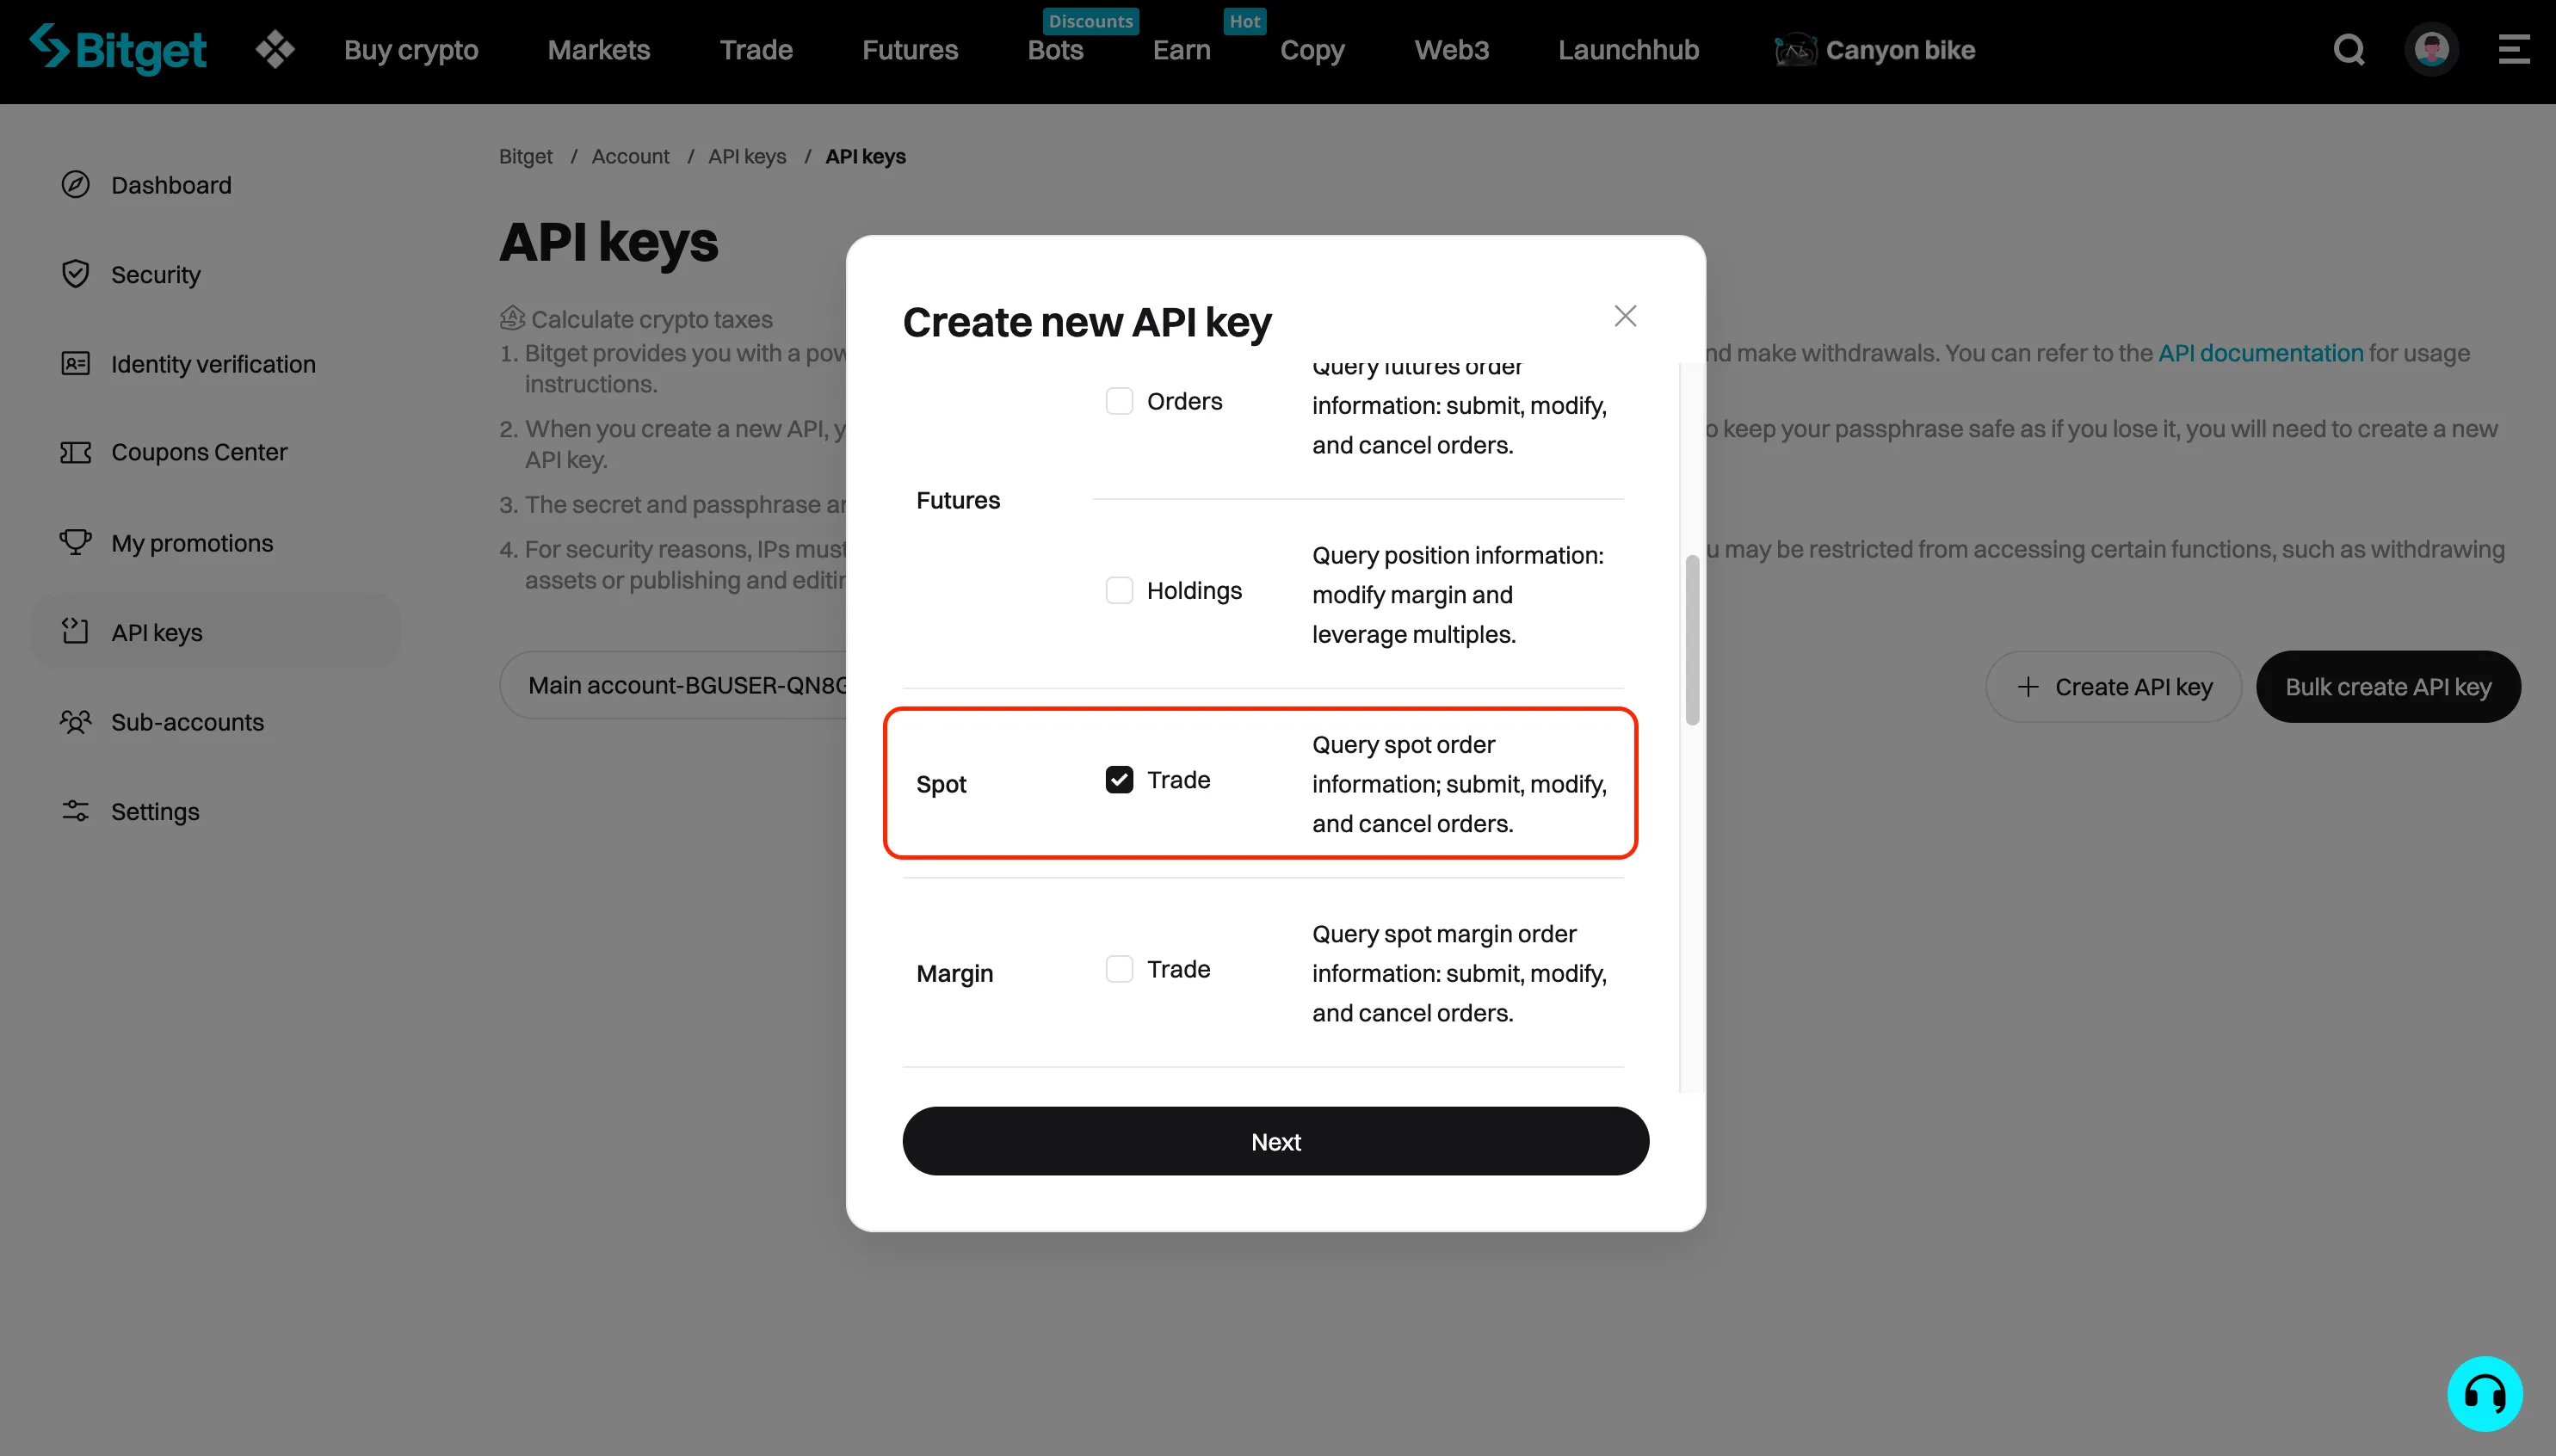
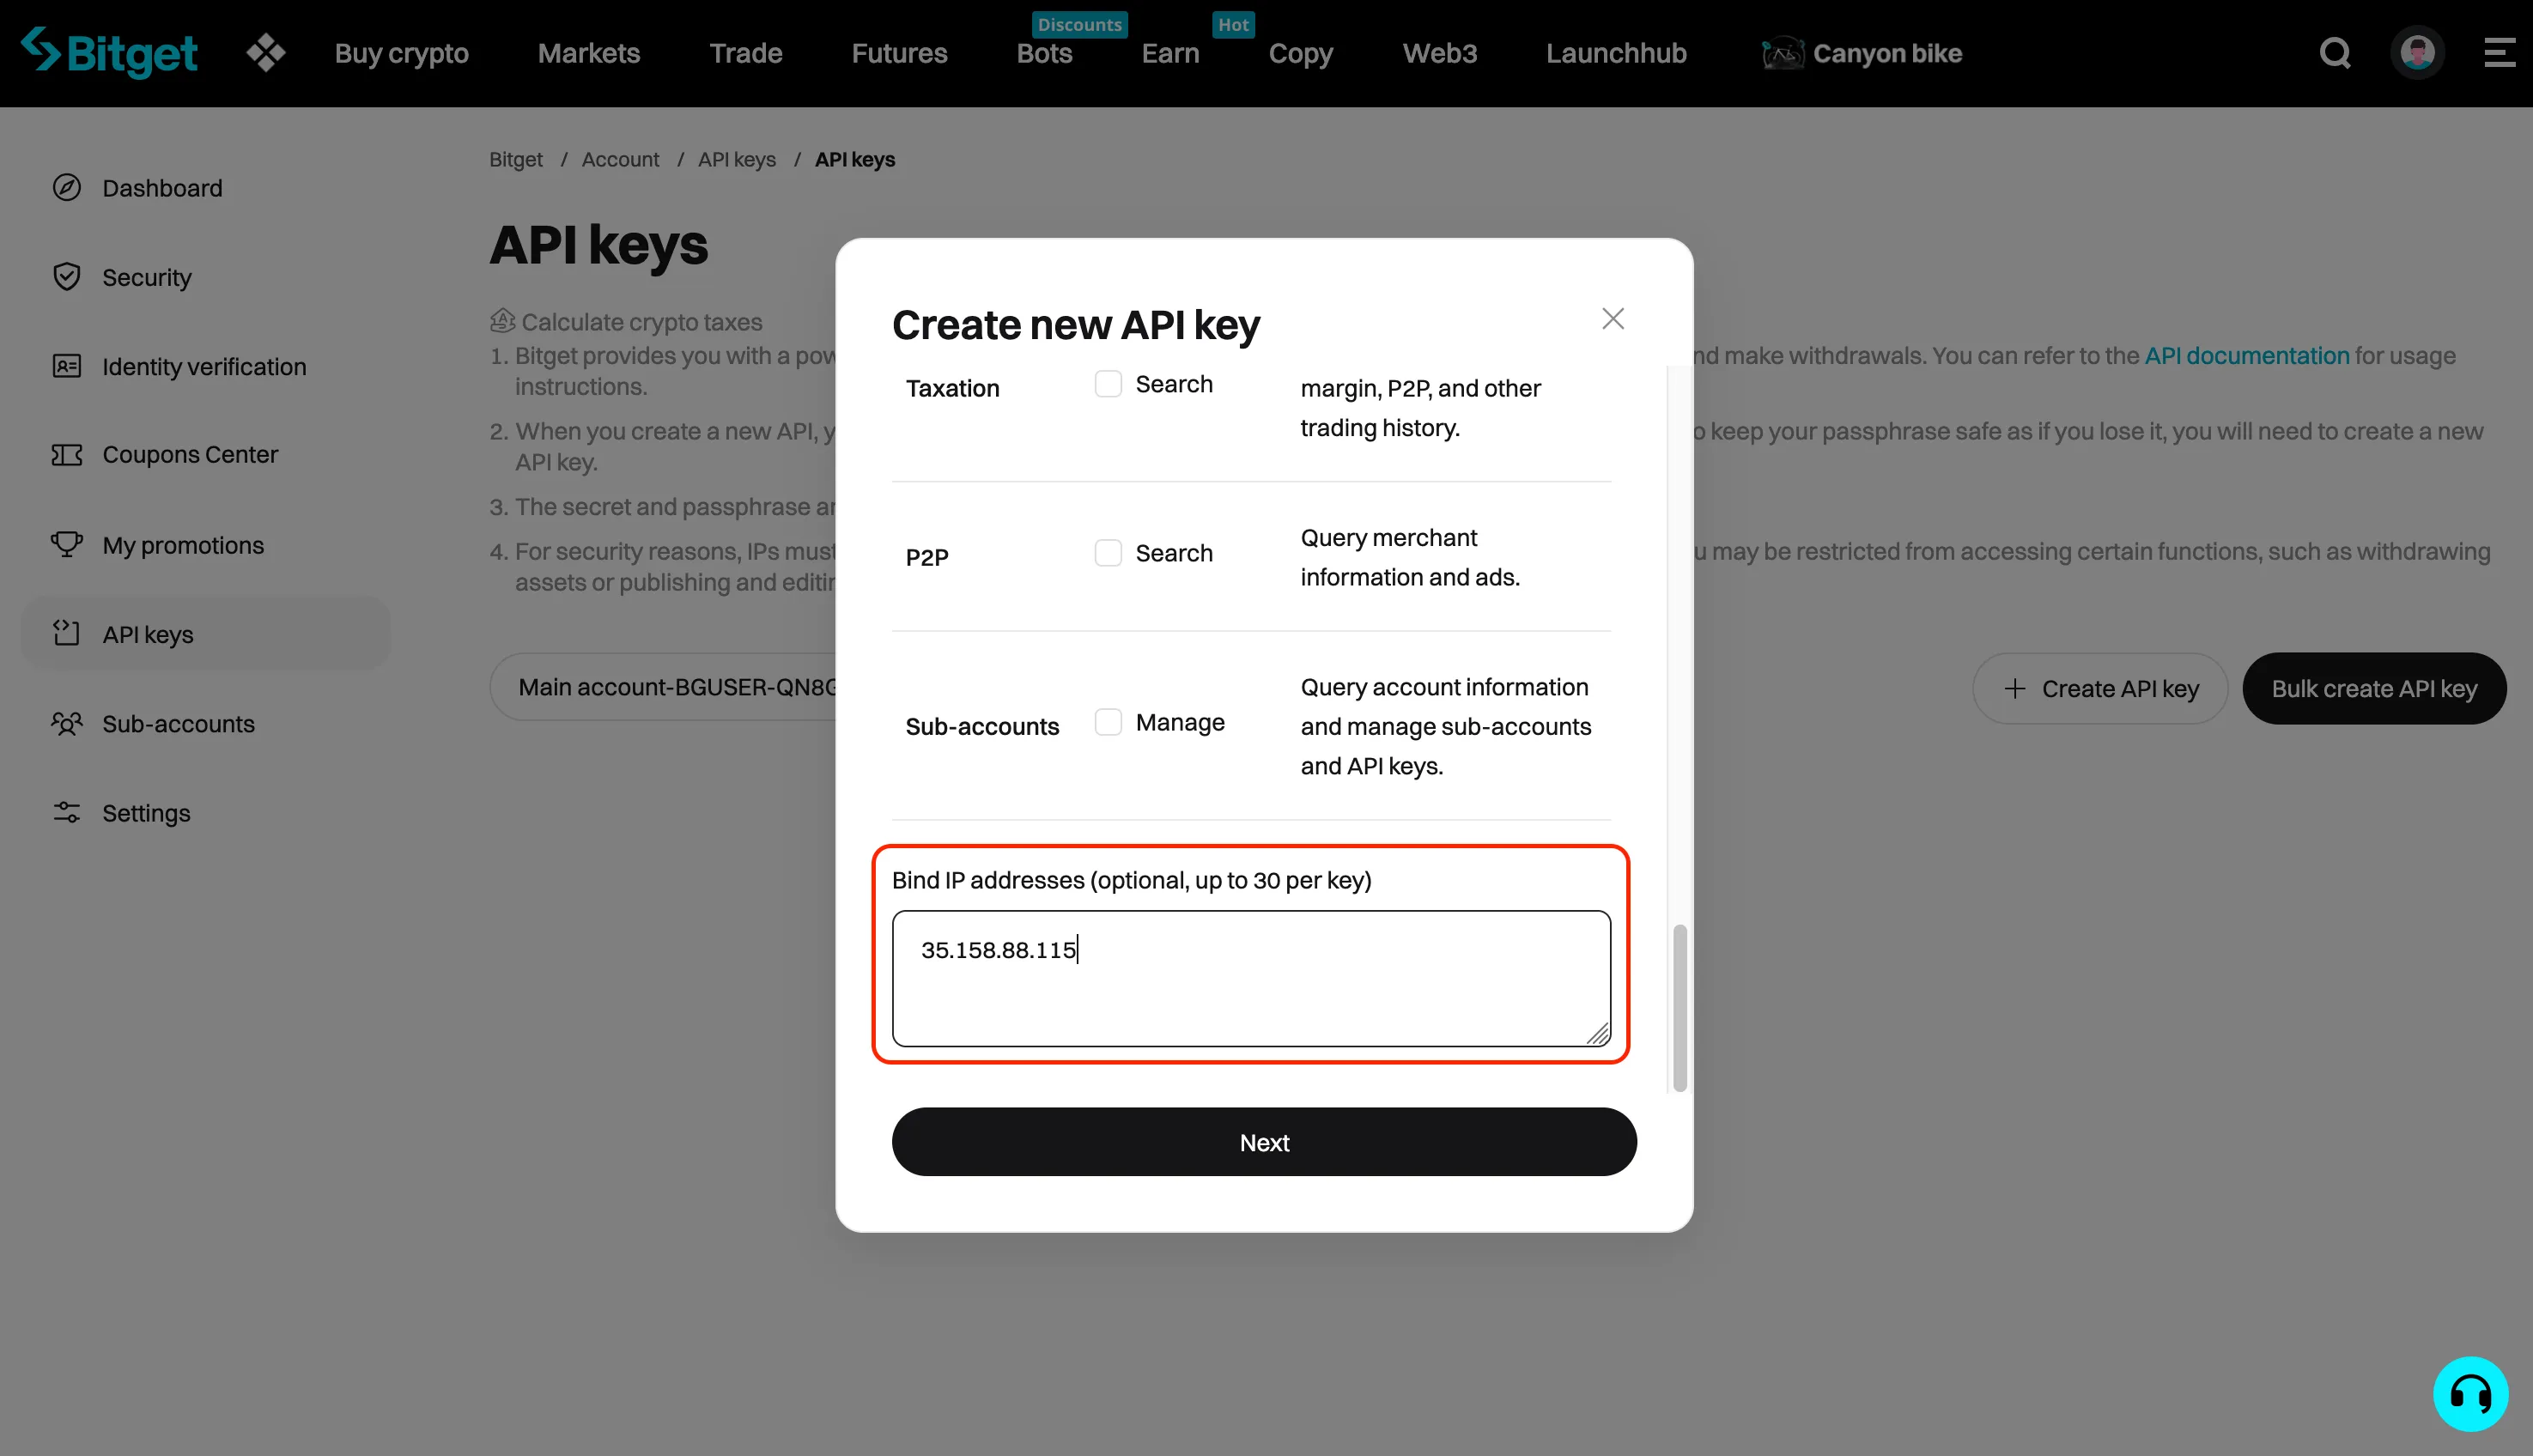
Then, scroll down to the “Spot” section and check the box of the “Trade” permission (for security purposes, ensure that no other permissions, such as transfer or withdrawal, are enabled).
Scroll down to the “Bind IP addresses” section. You’ll need to copy Jellydator’s trusted IPs for this step, as explained below the picture. This will ensure that only Jellydator is able to use this API key.
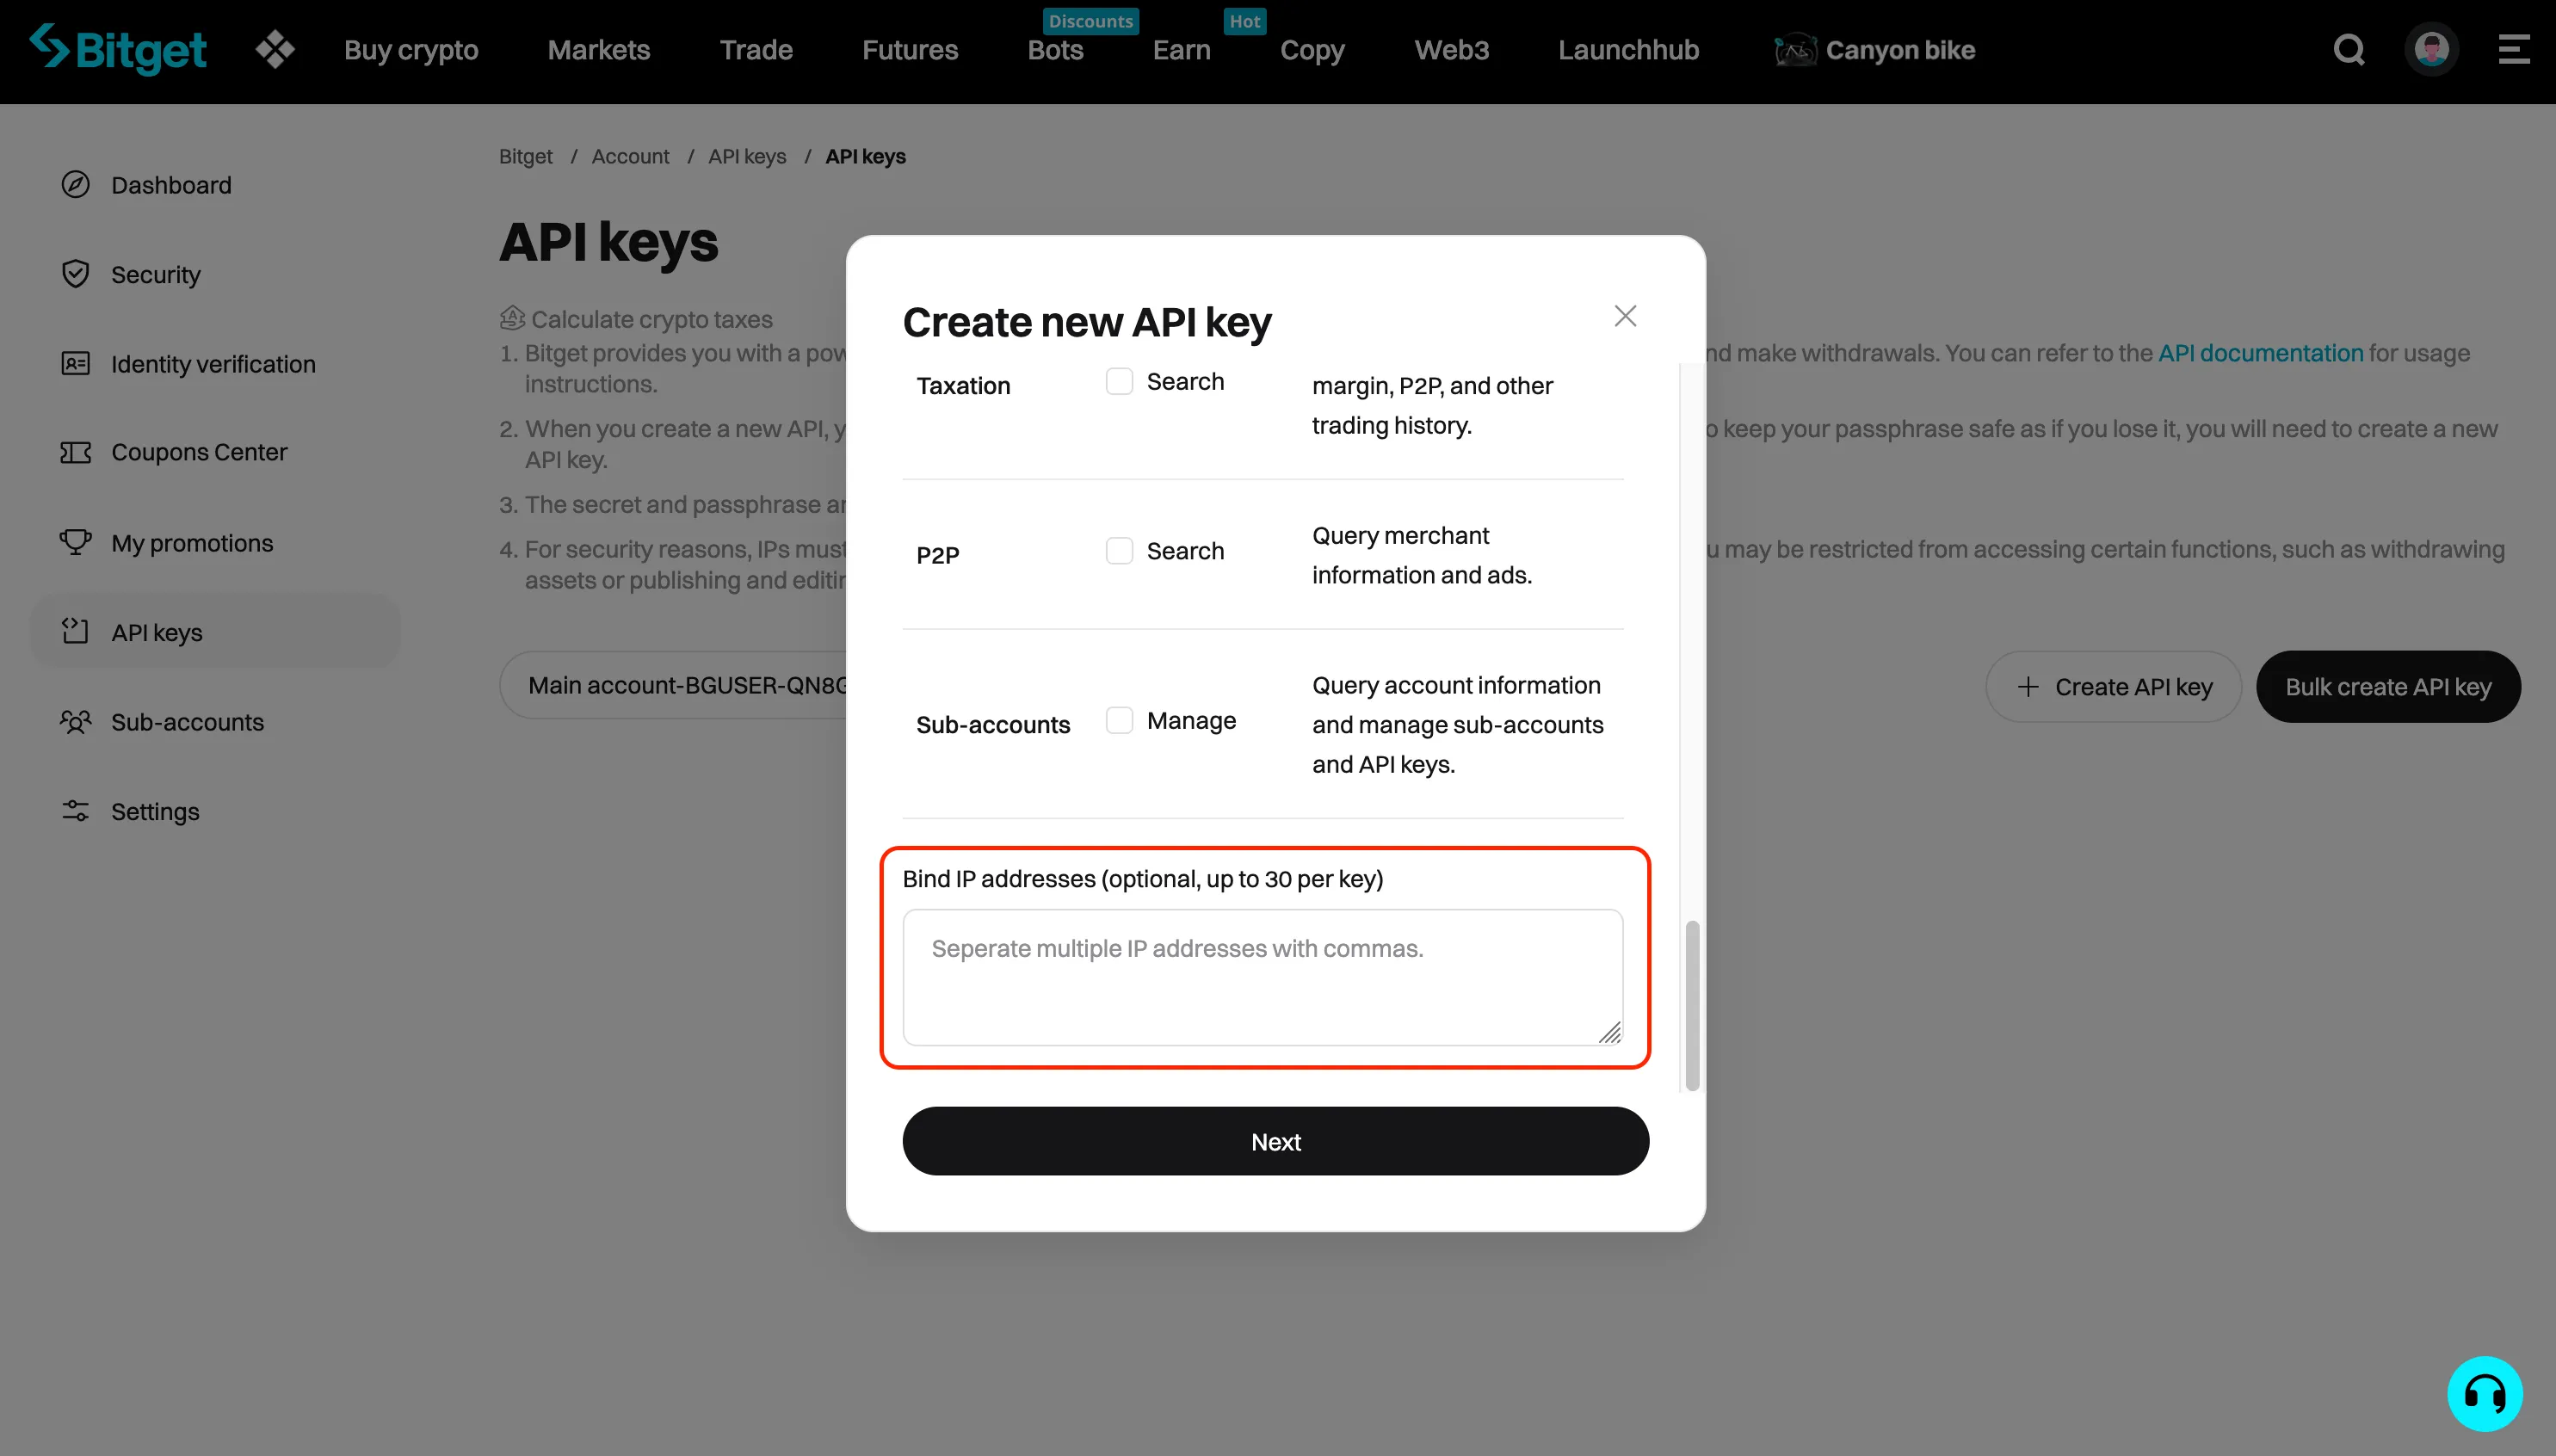
Switch back to the Jellydator tab and copy the list of trusted IPs. You can copy them all by simply clicking on the field.
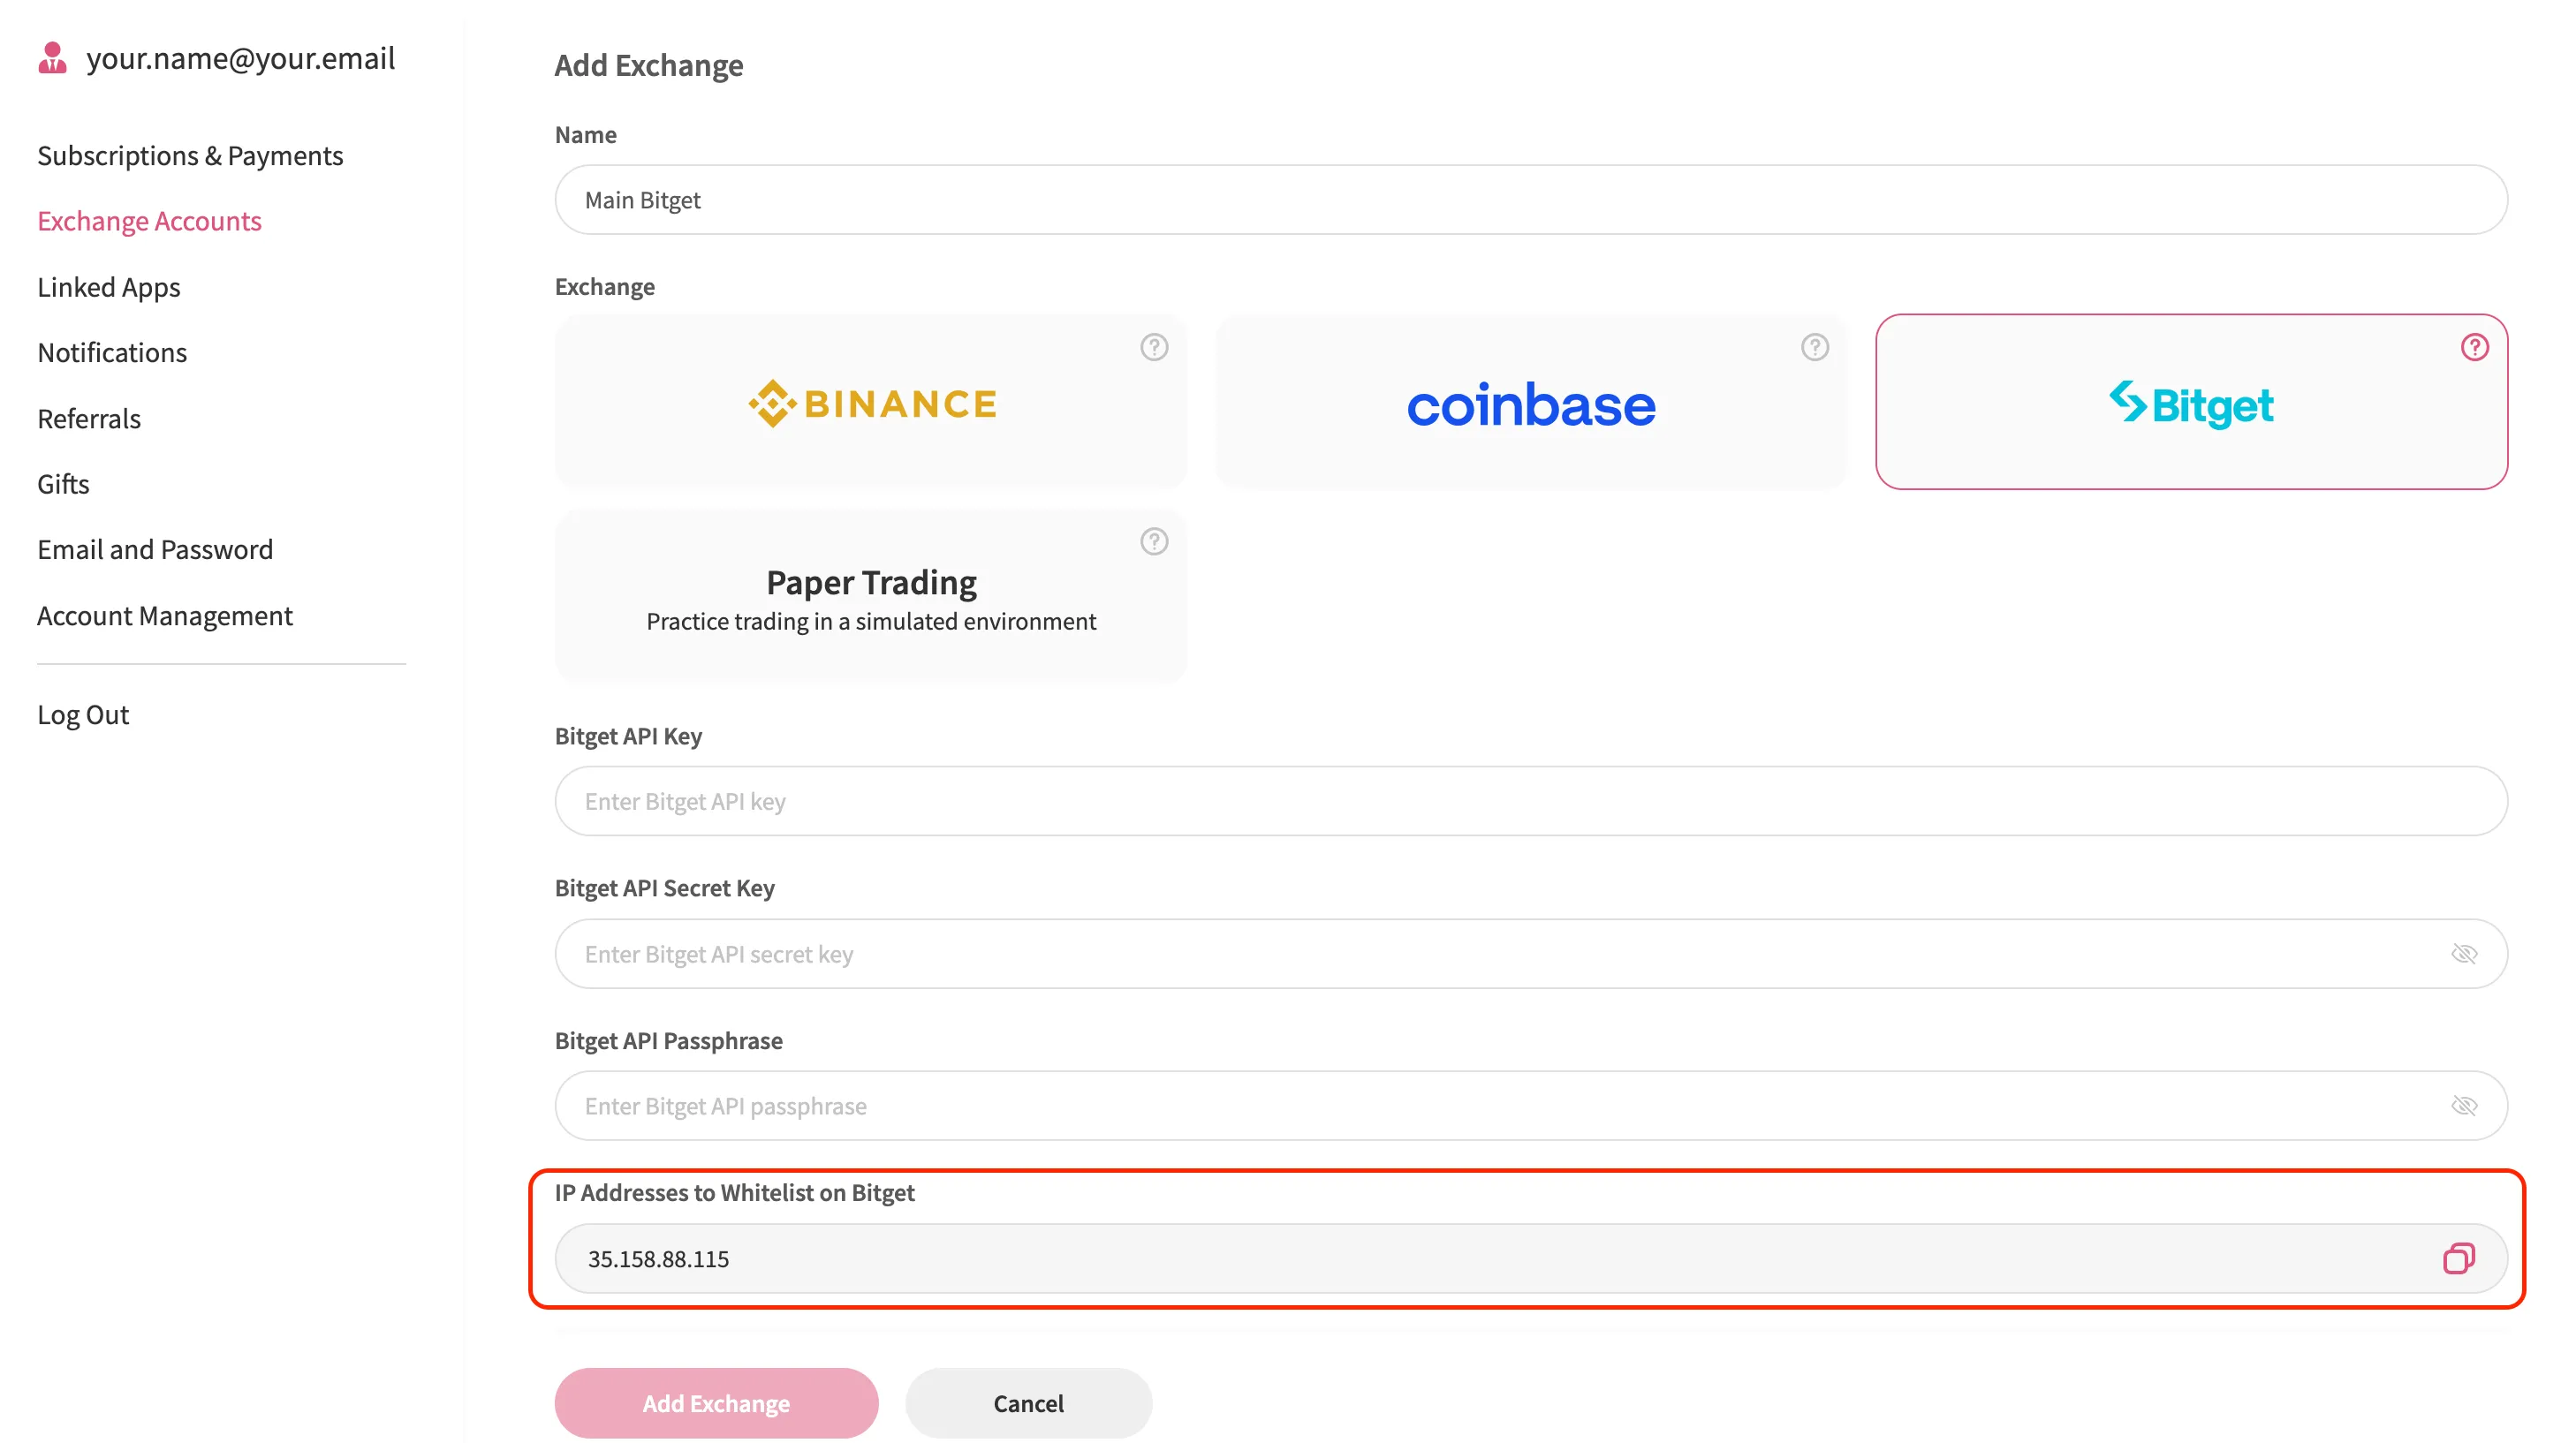
Paste the copied IP addresses into Bitget’s IP address box and click “Next.”
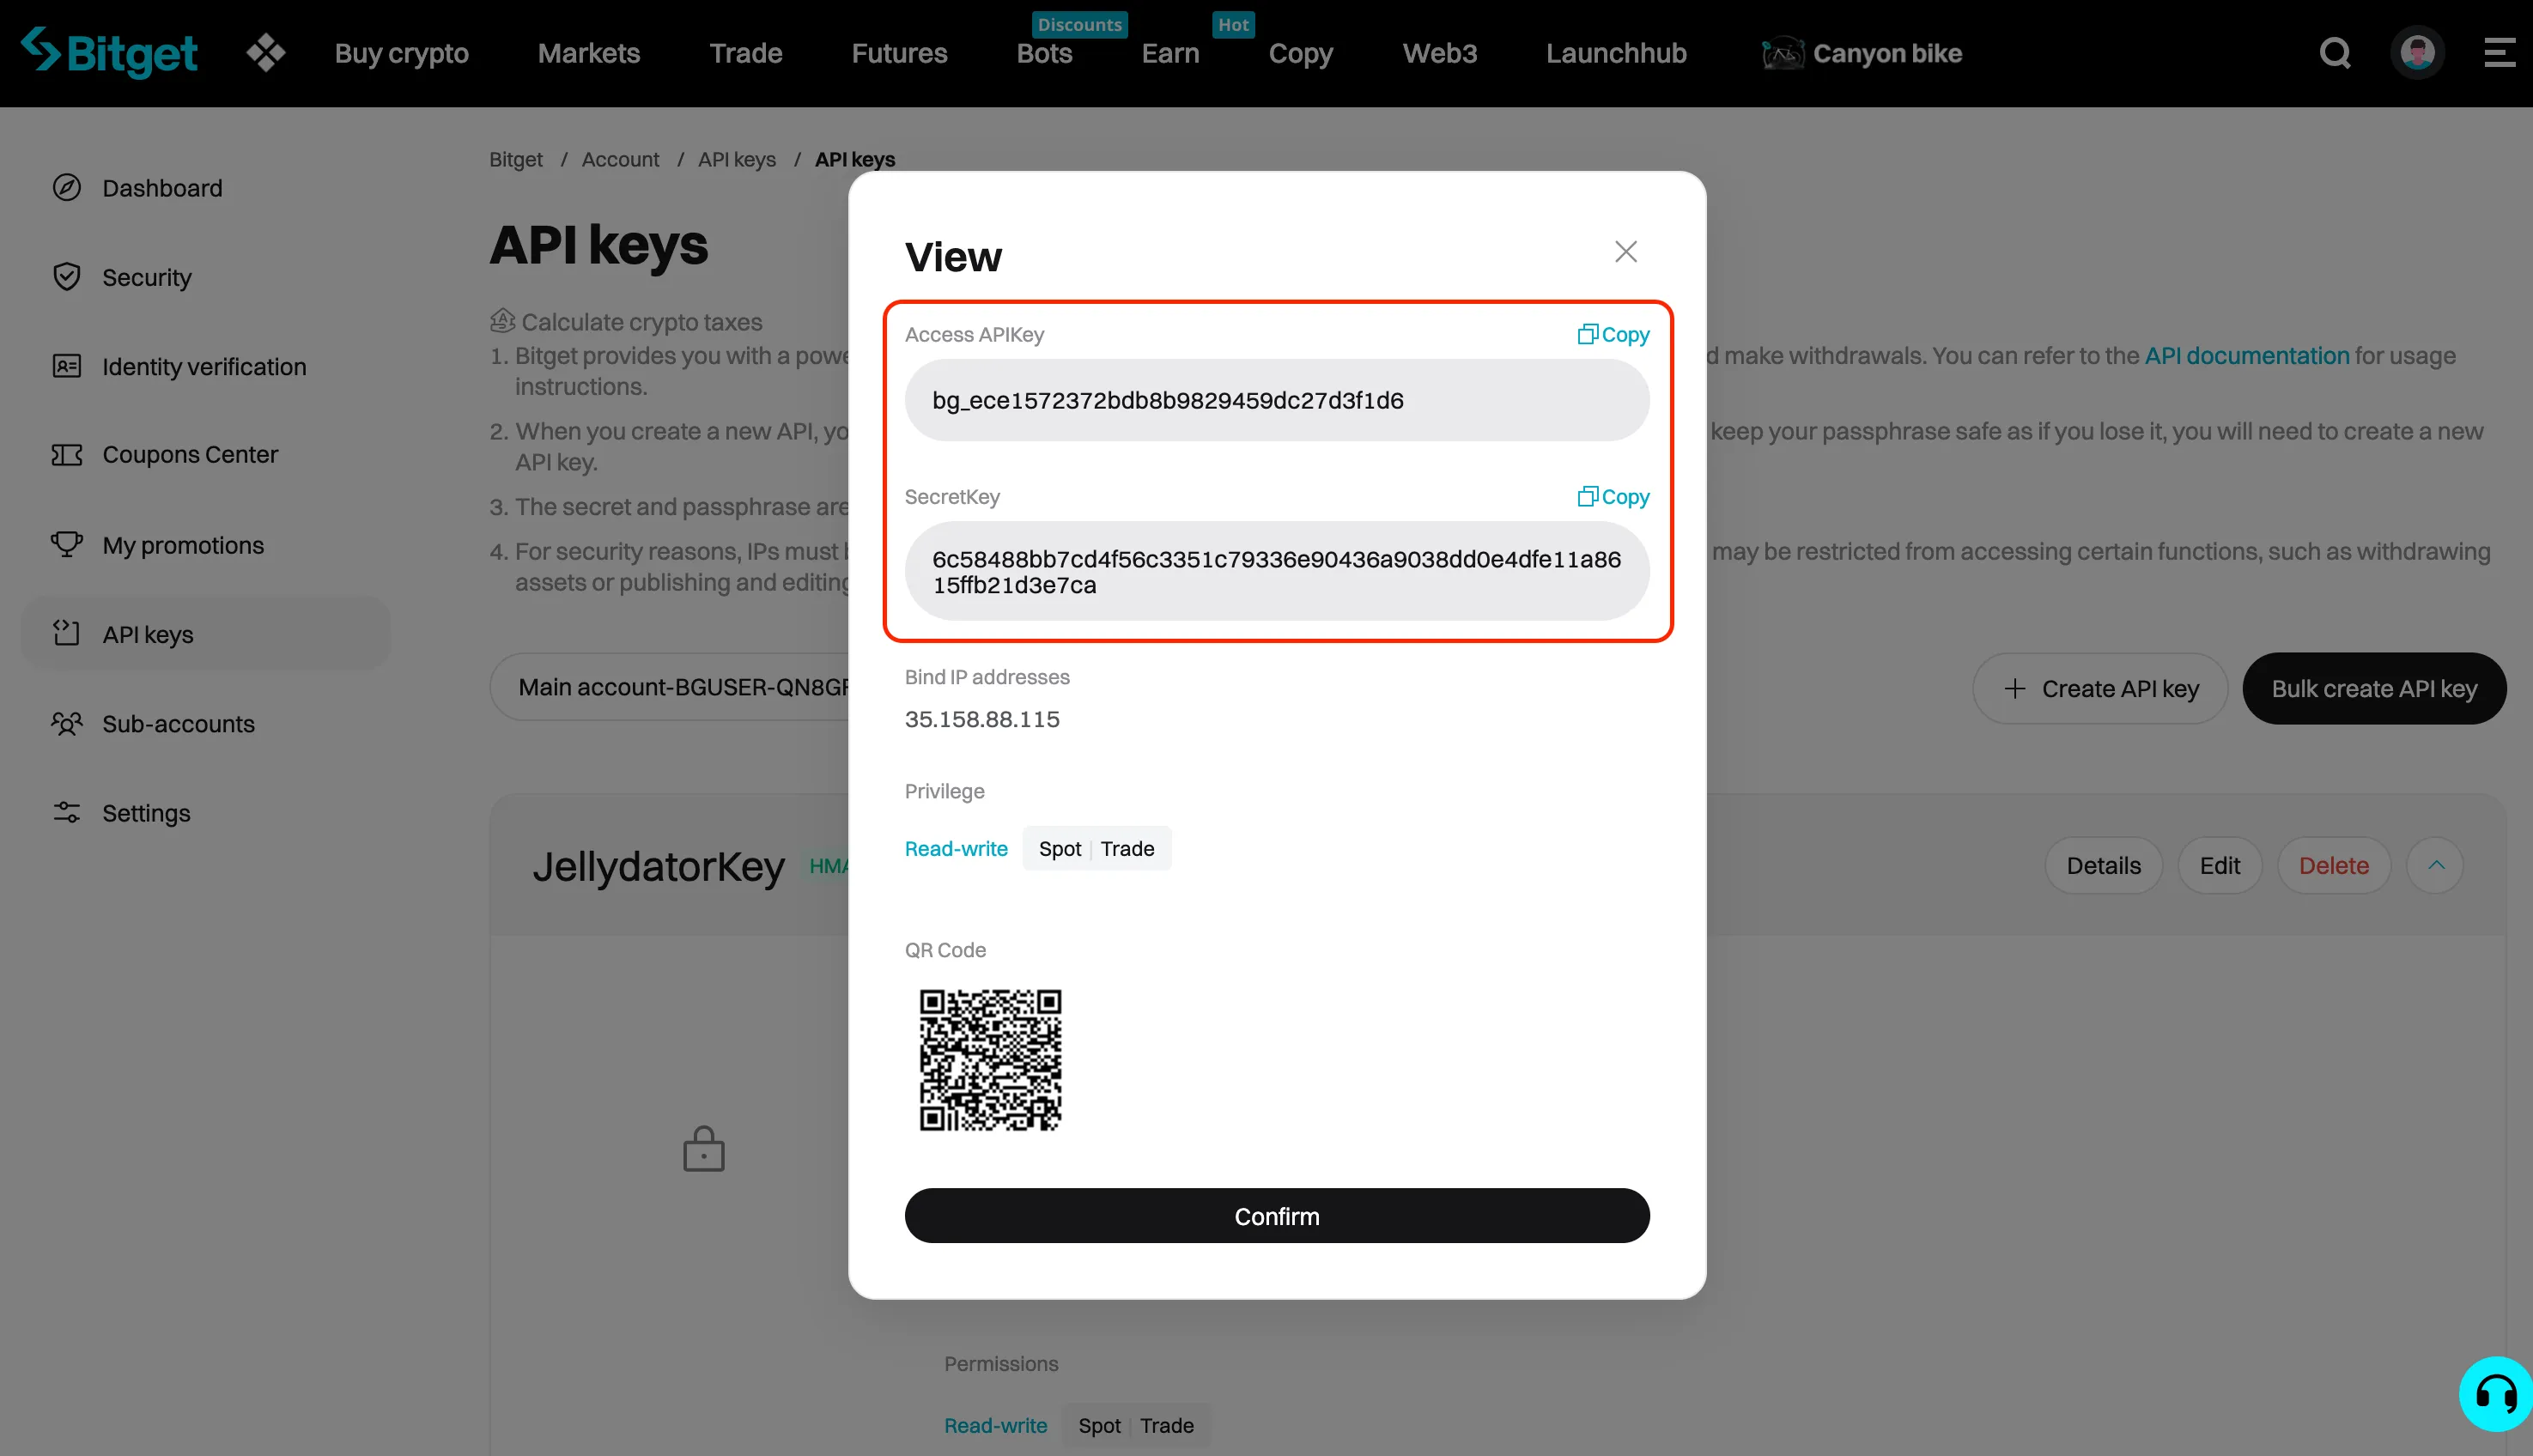
Step 7: Copy and Paste Your New API Key
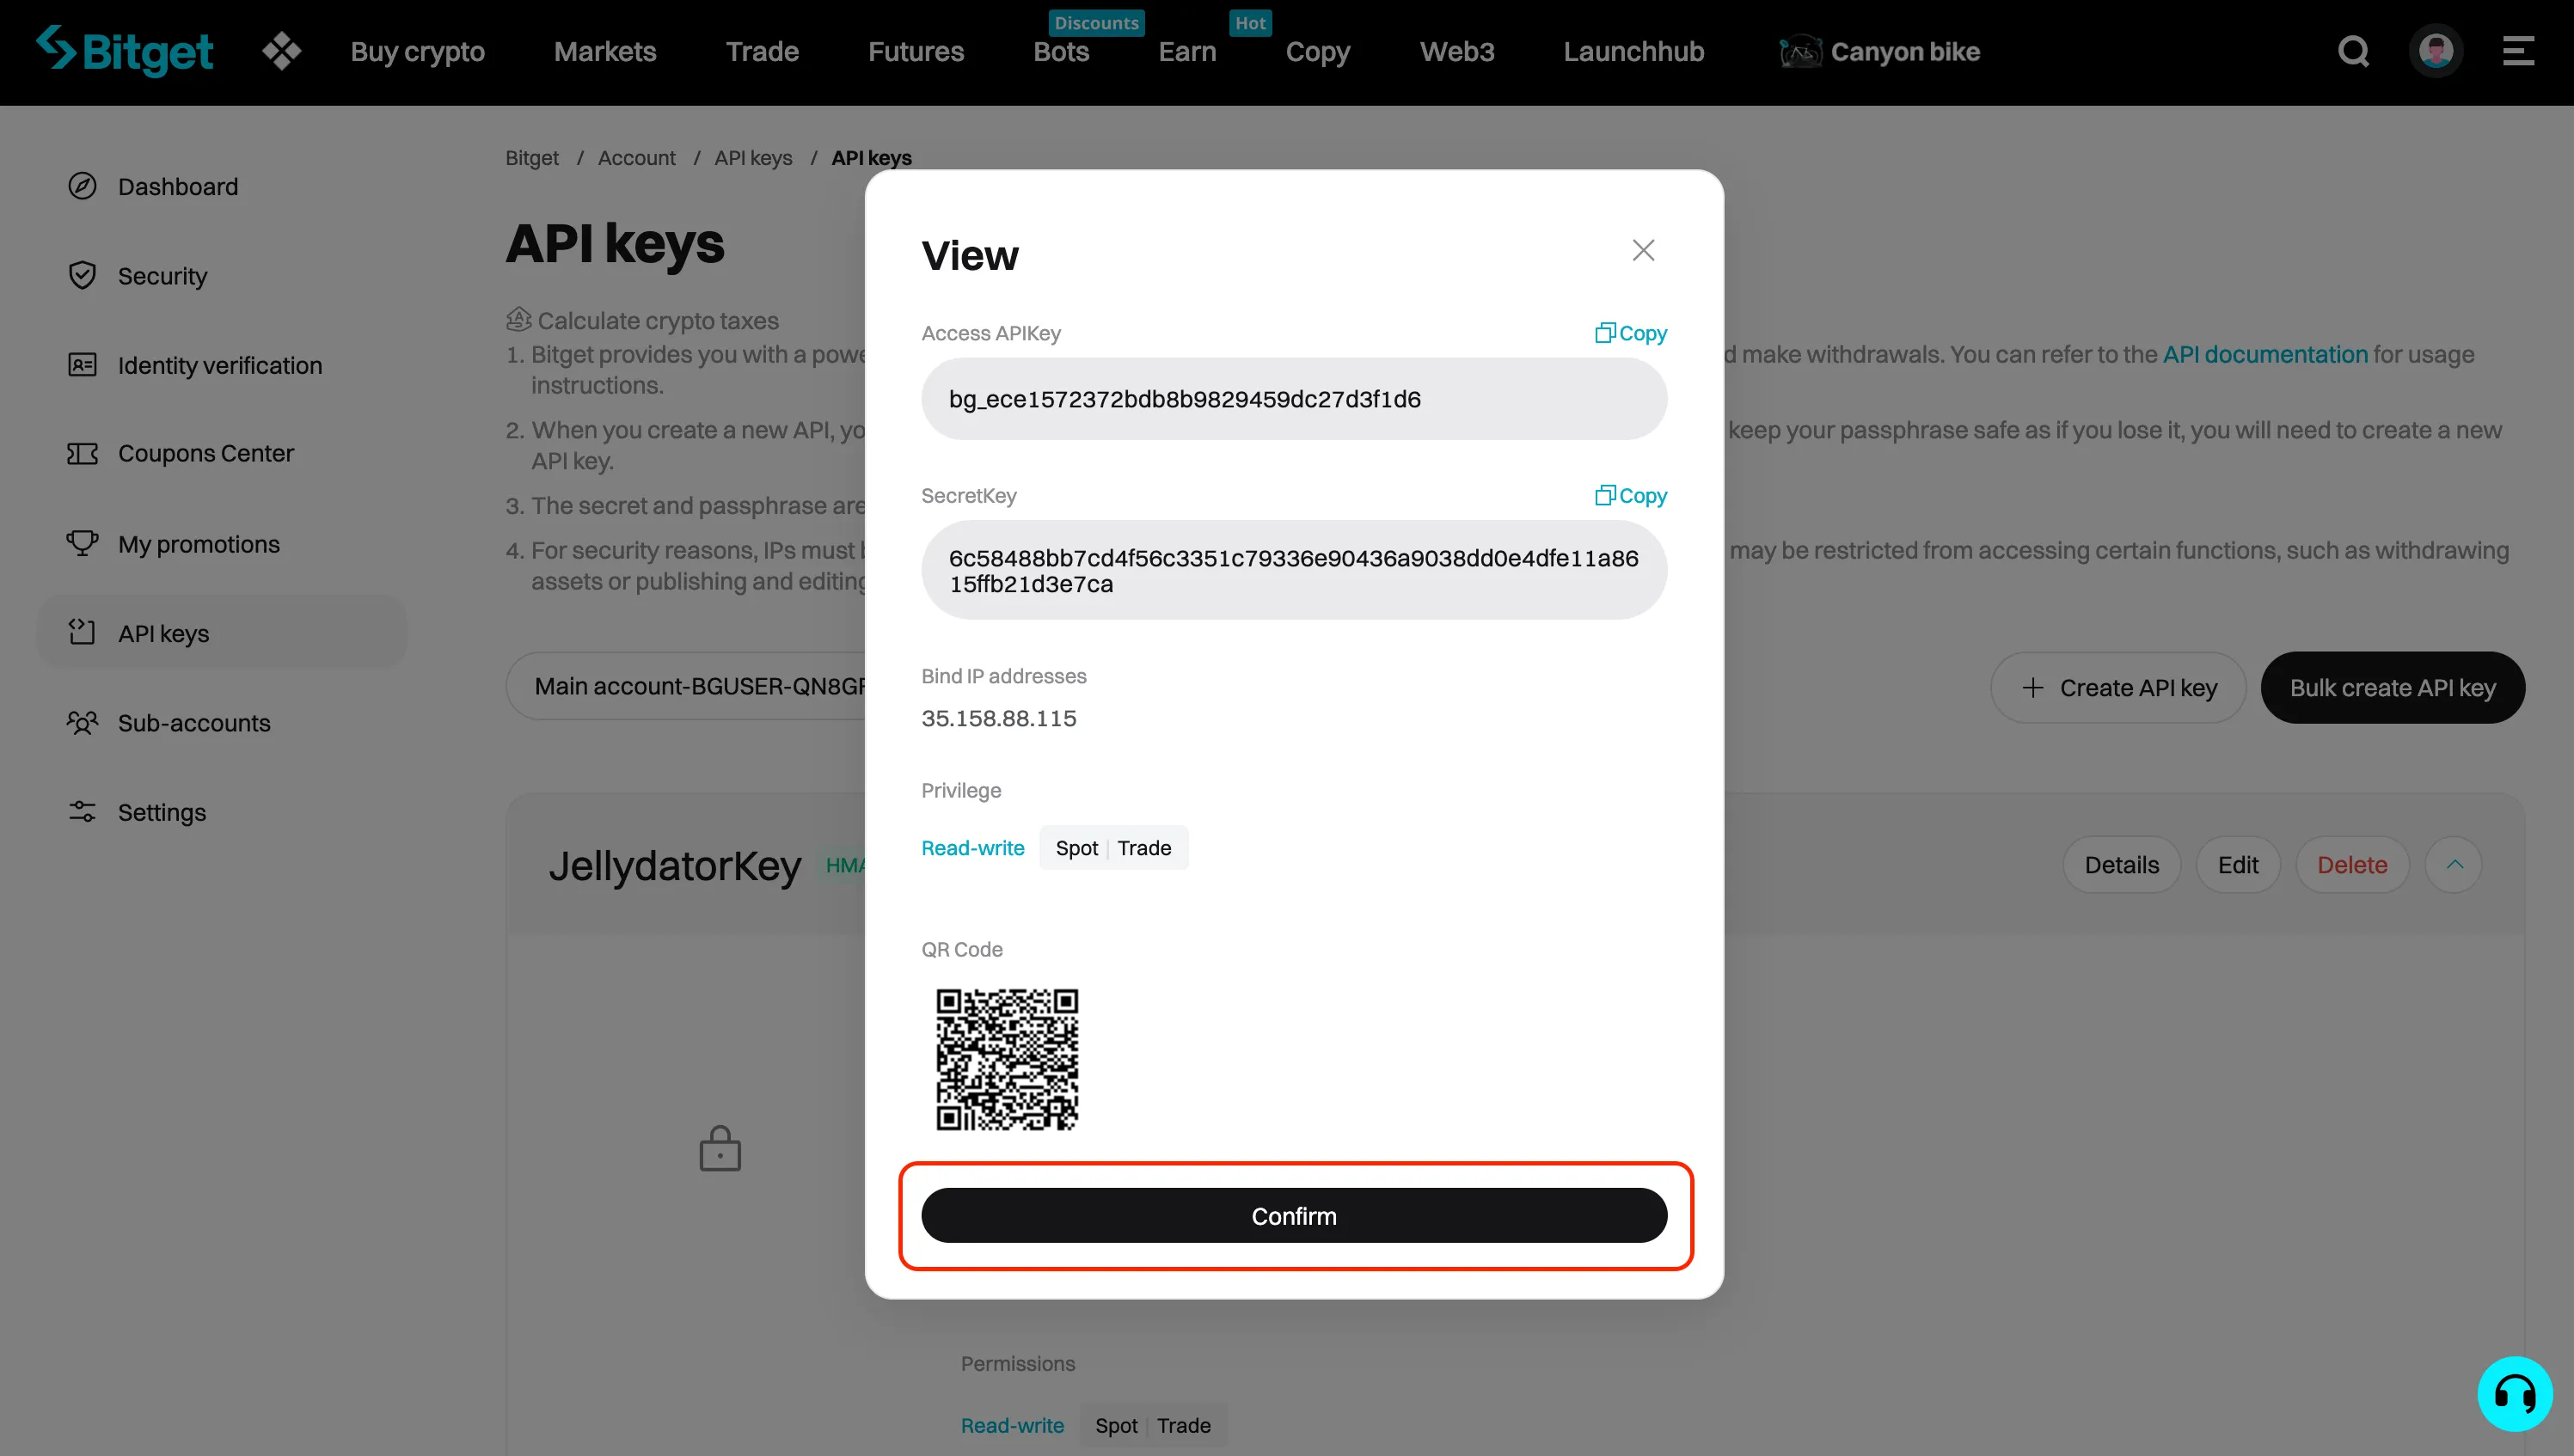
Copy both the “API key” and “Secret key” values from Bitget.
Go back to Jellydator and paste these values into the matching fields on the exchange connection page.
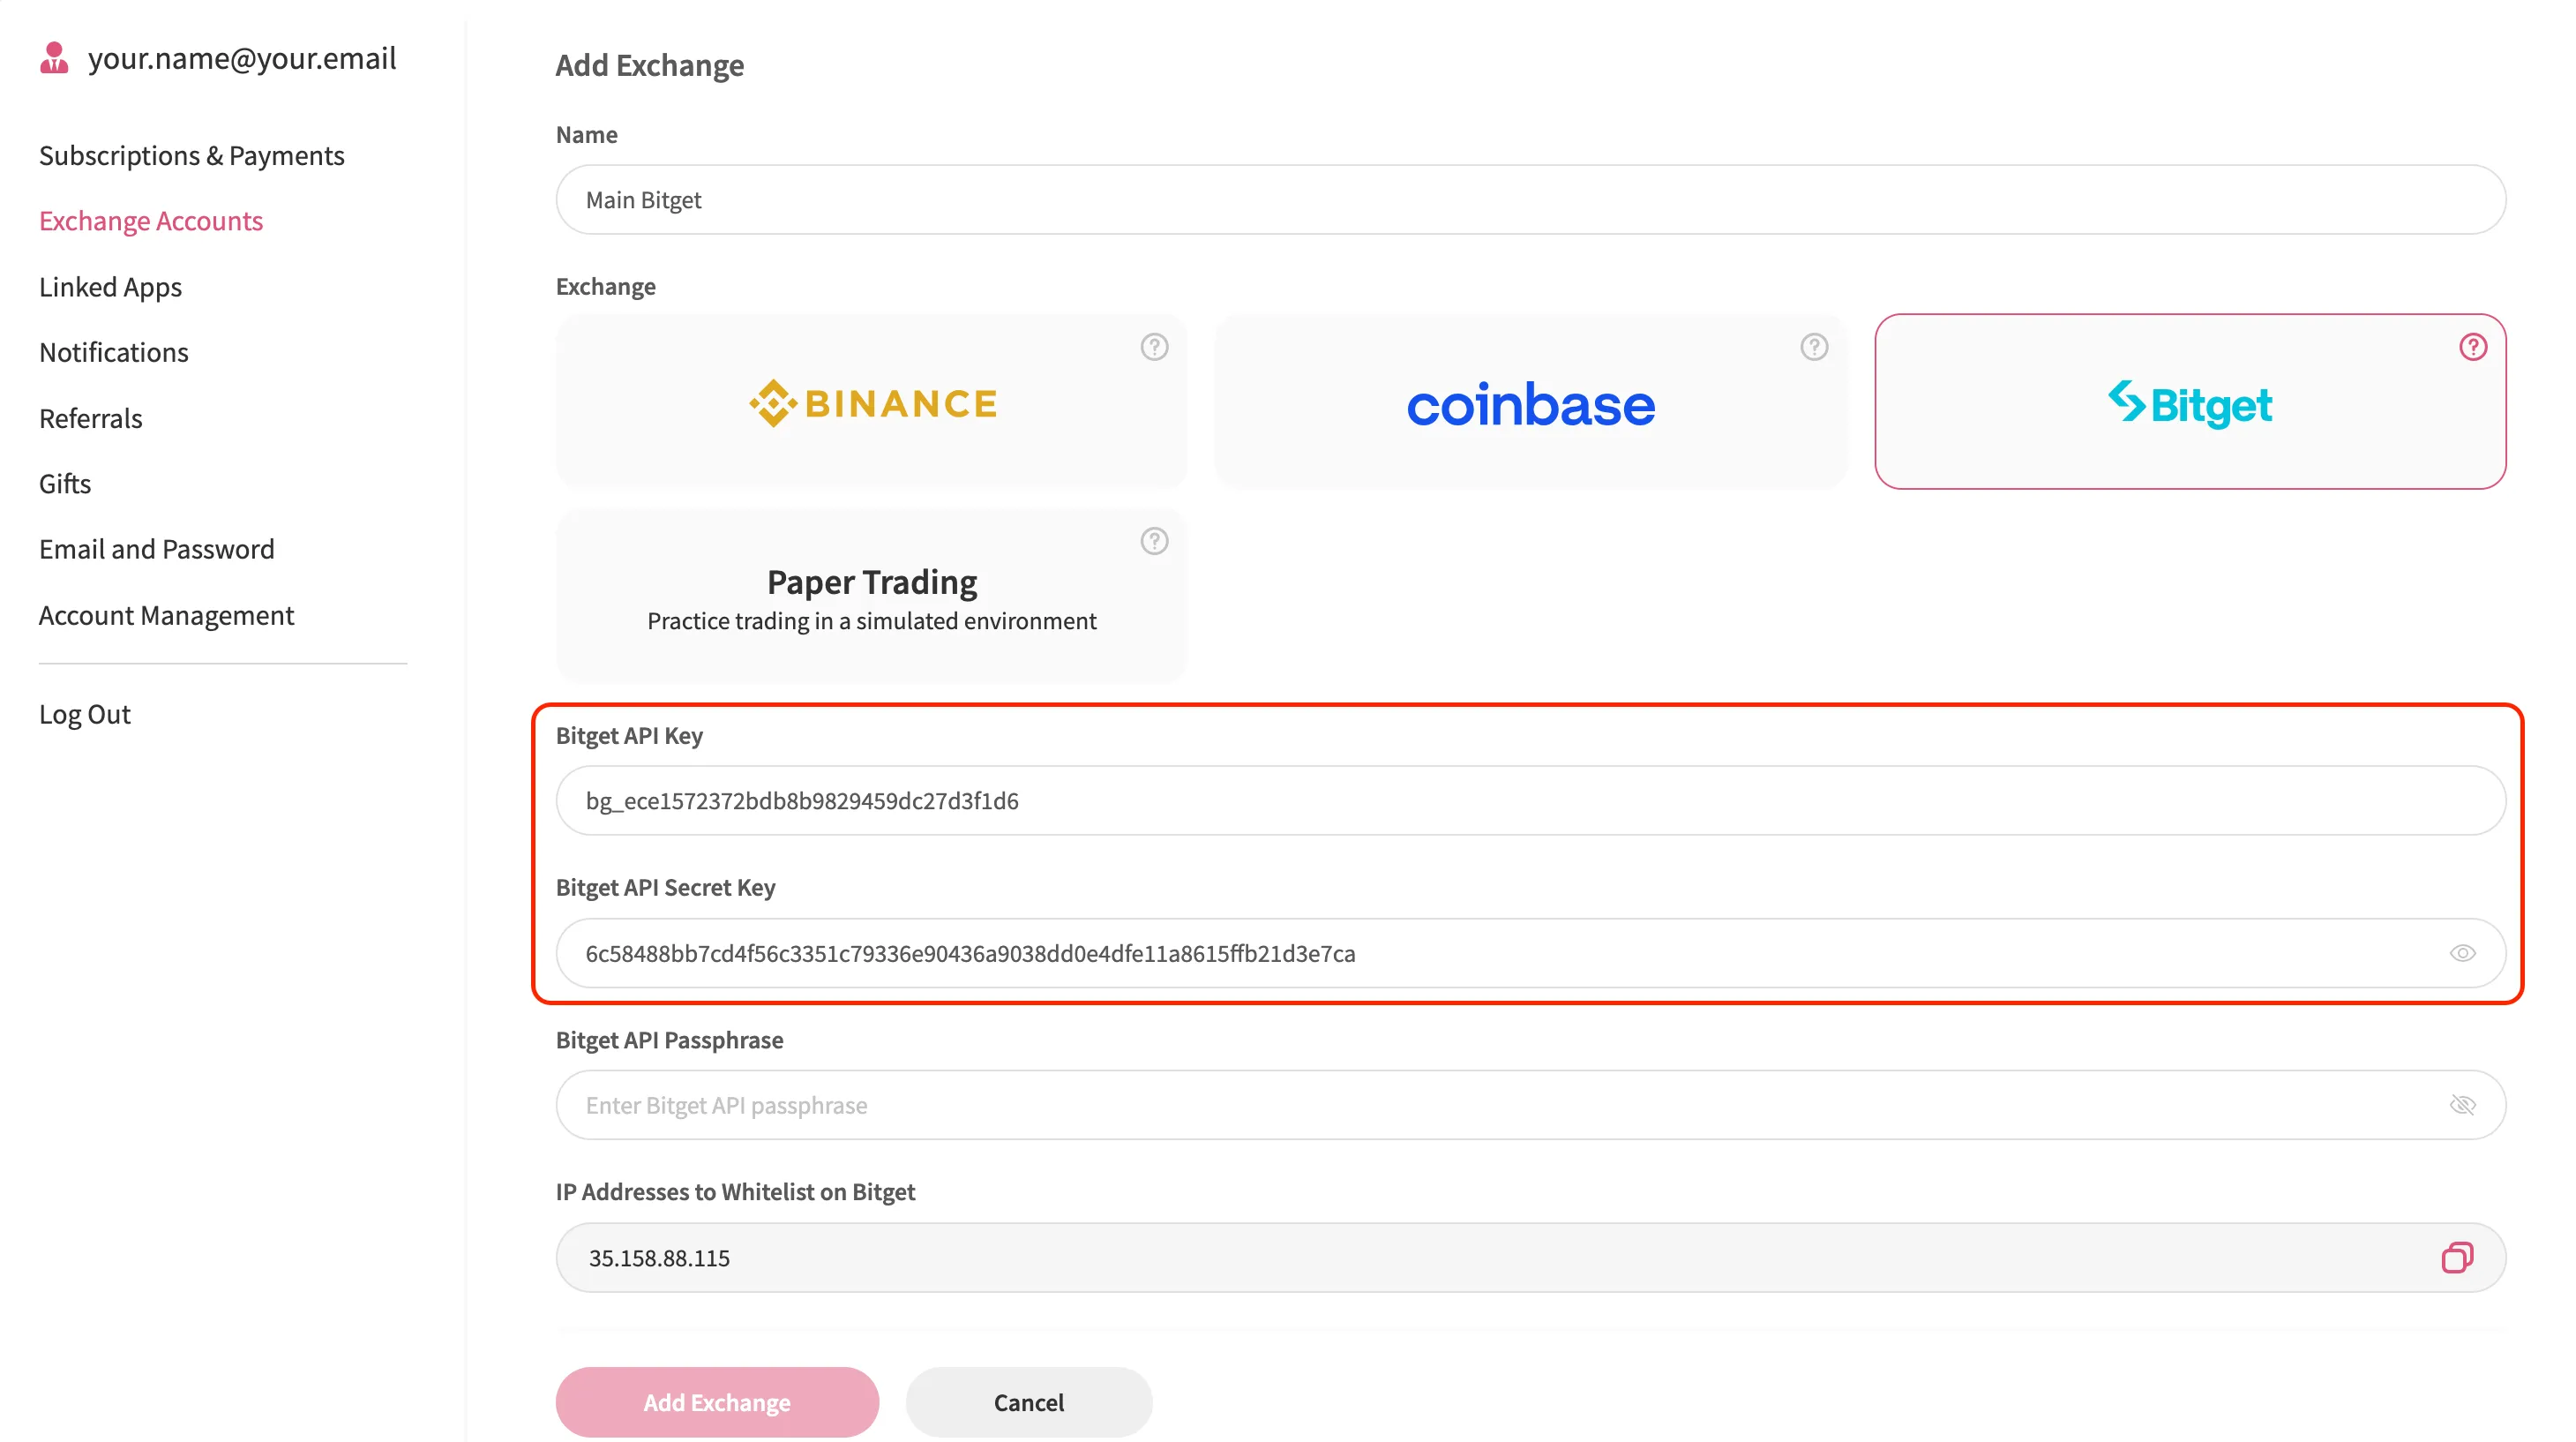
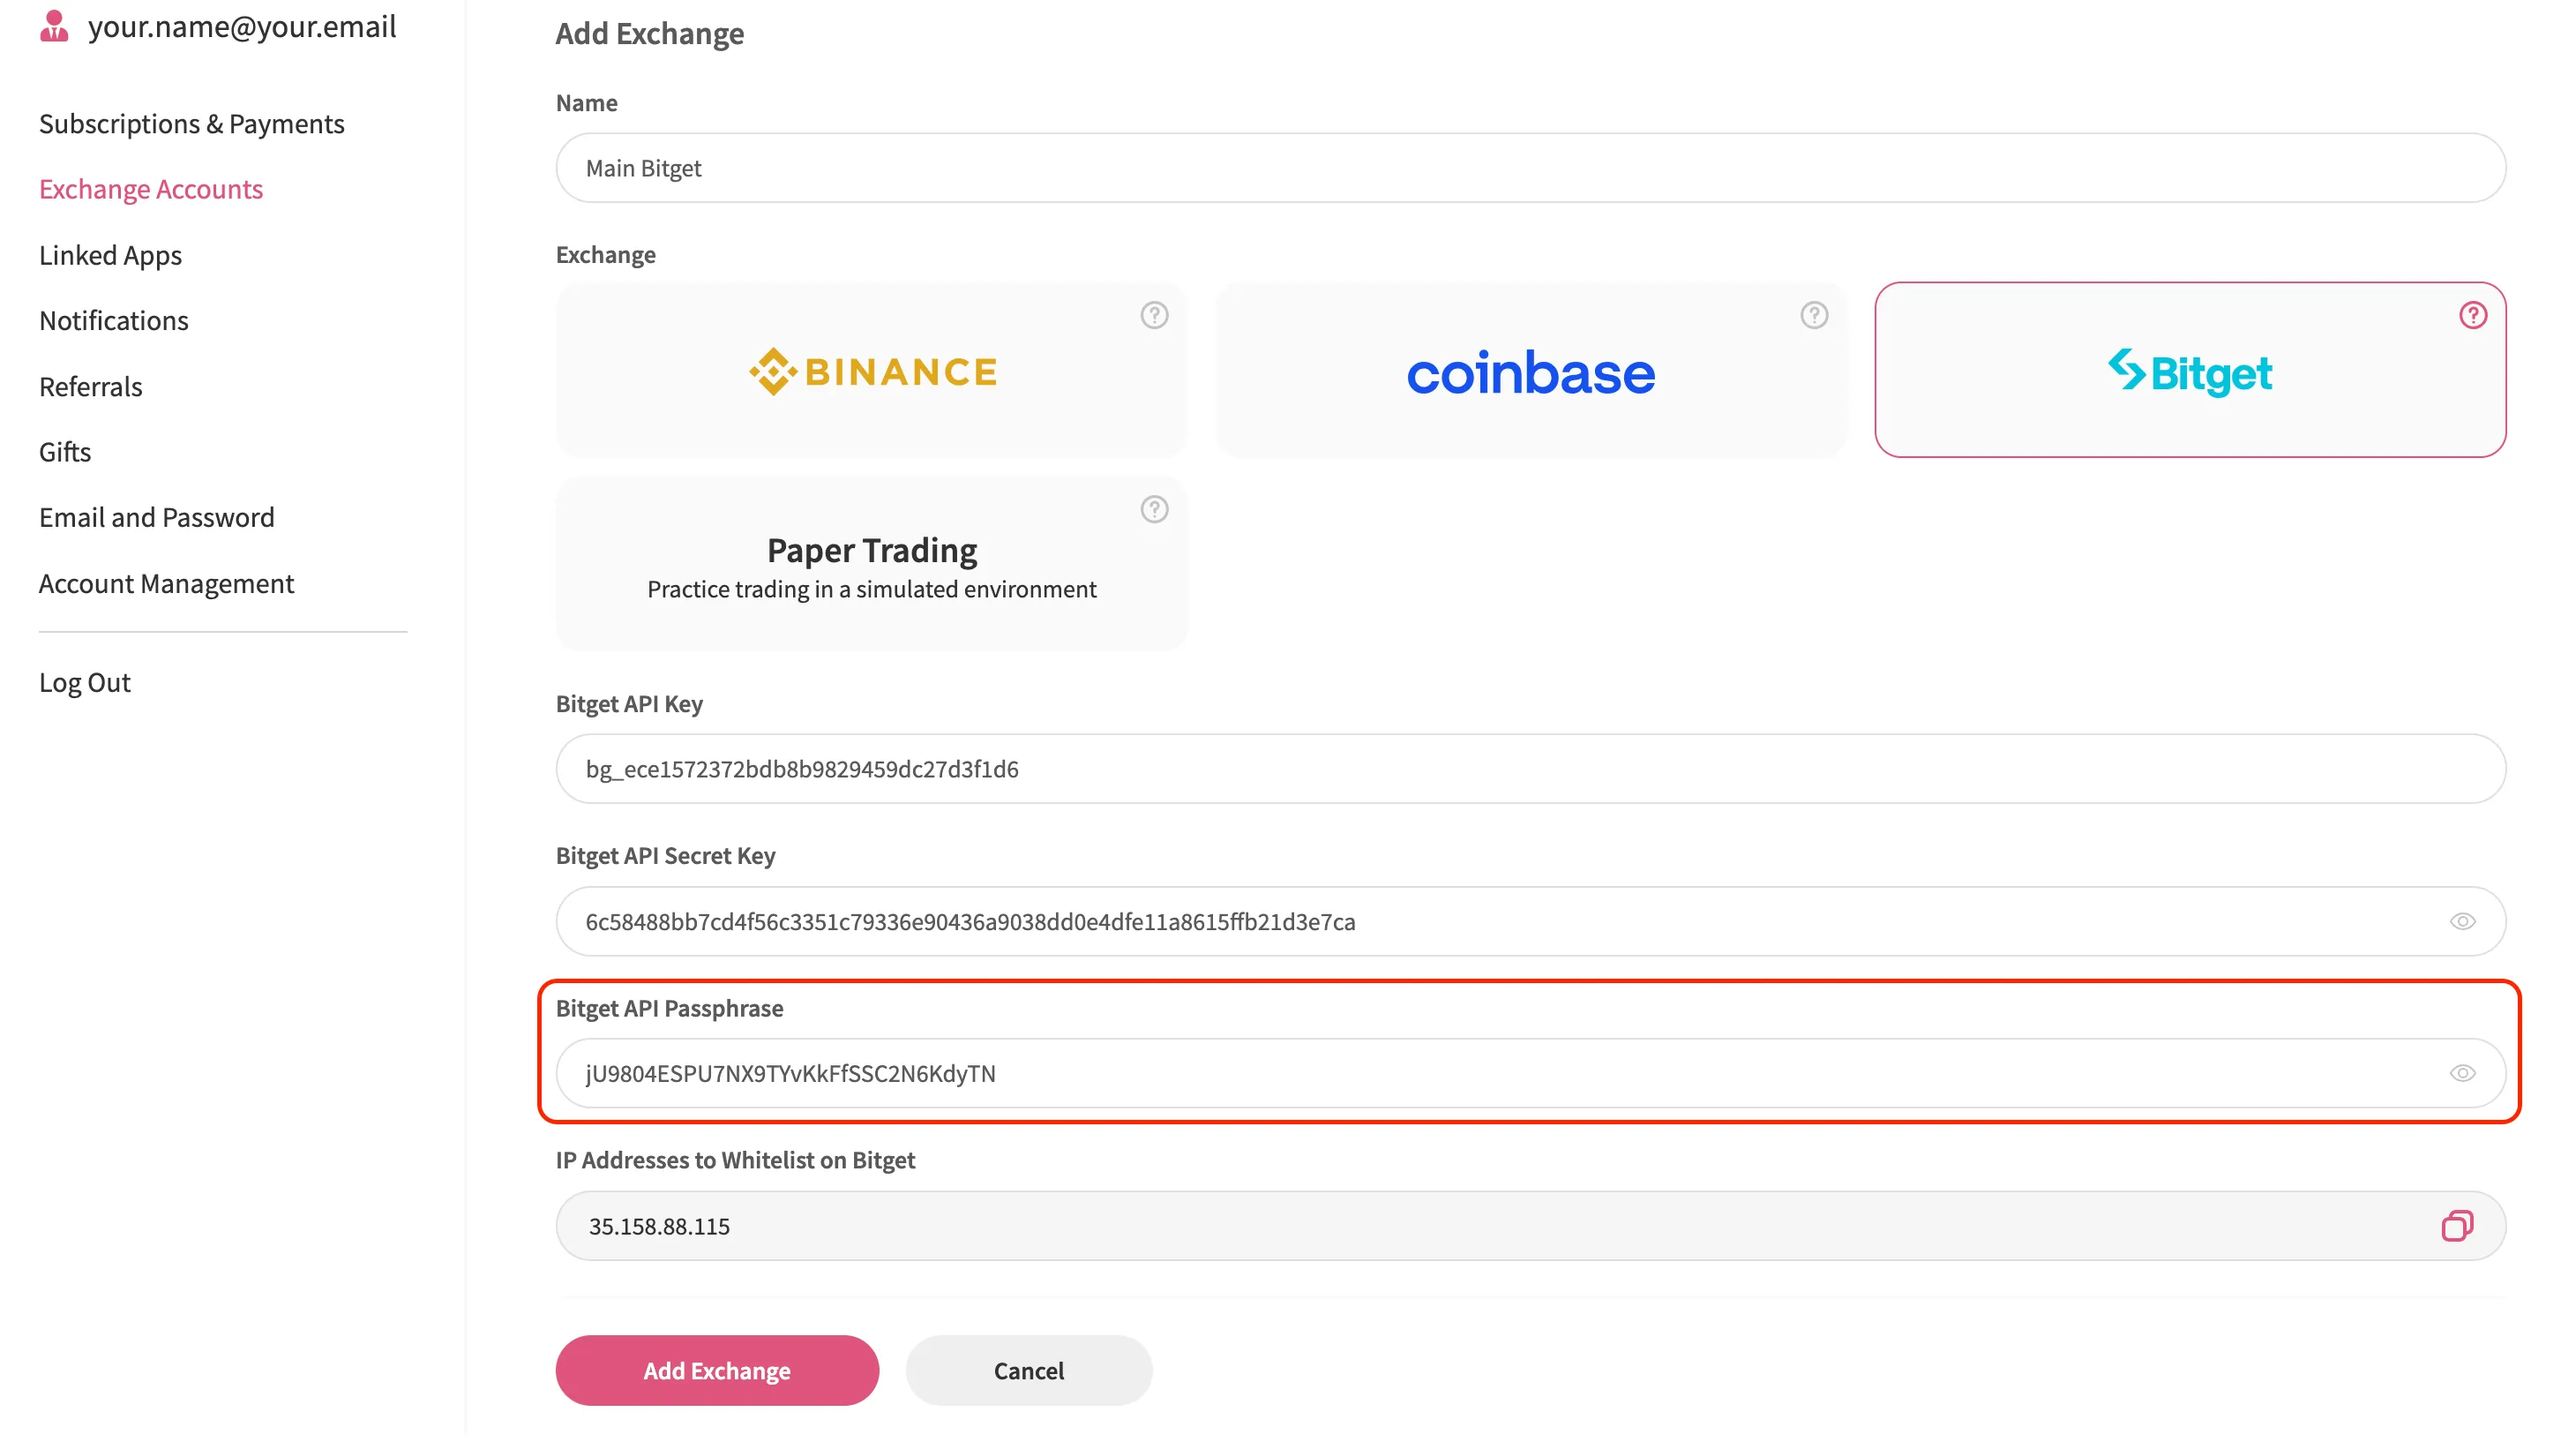
Paste the API passphrase you created earlier into the “Bitget API Passphrase” field.
Switch back to Bitget and click “Confirm” to activate your API key.
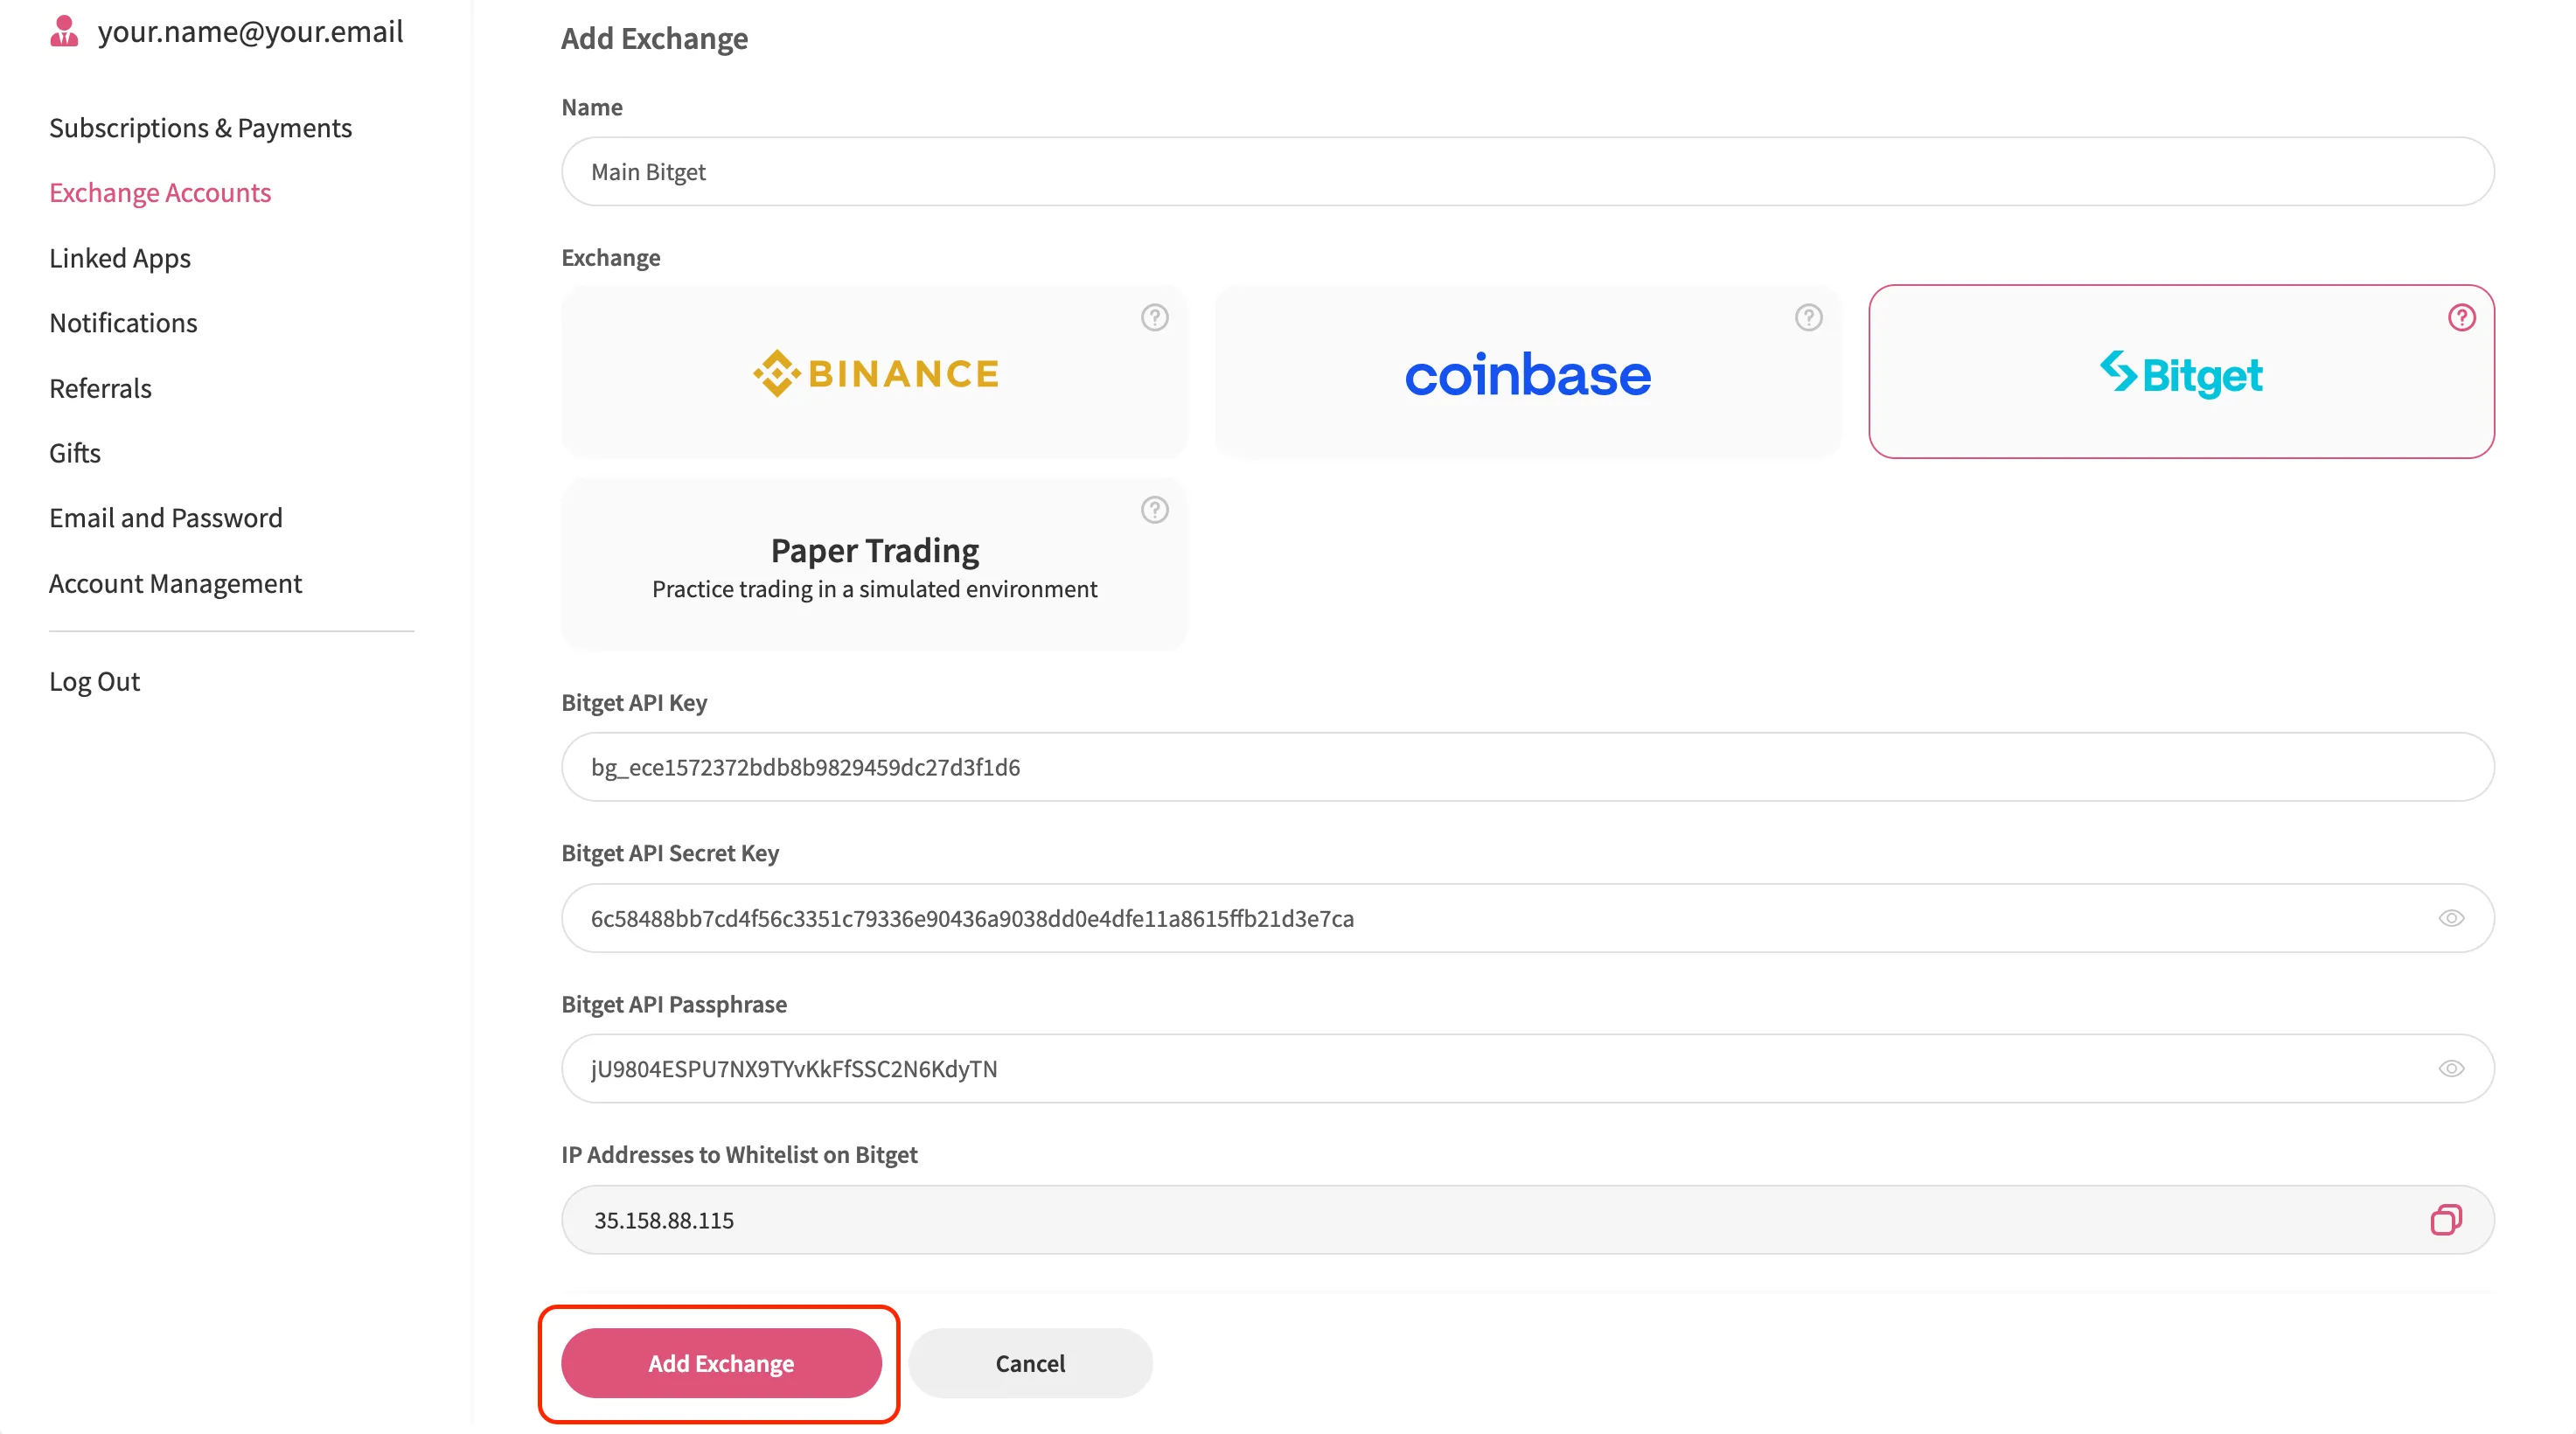
Finally, in the Jellydator tab, click “Add Exchange” to complete the process.
Congratulations! If everything goes smoothly, your Bitget account will show up in Jellydator’s exchange account list. You can now view your balances, track asset performance, and use this account in your trading strategies.